外包装与设备外观 Packaging & Device Appearance
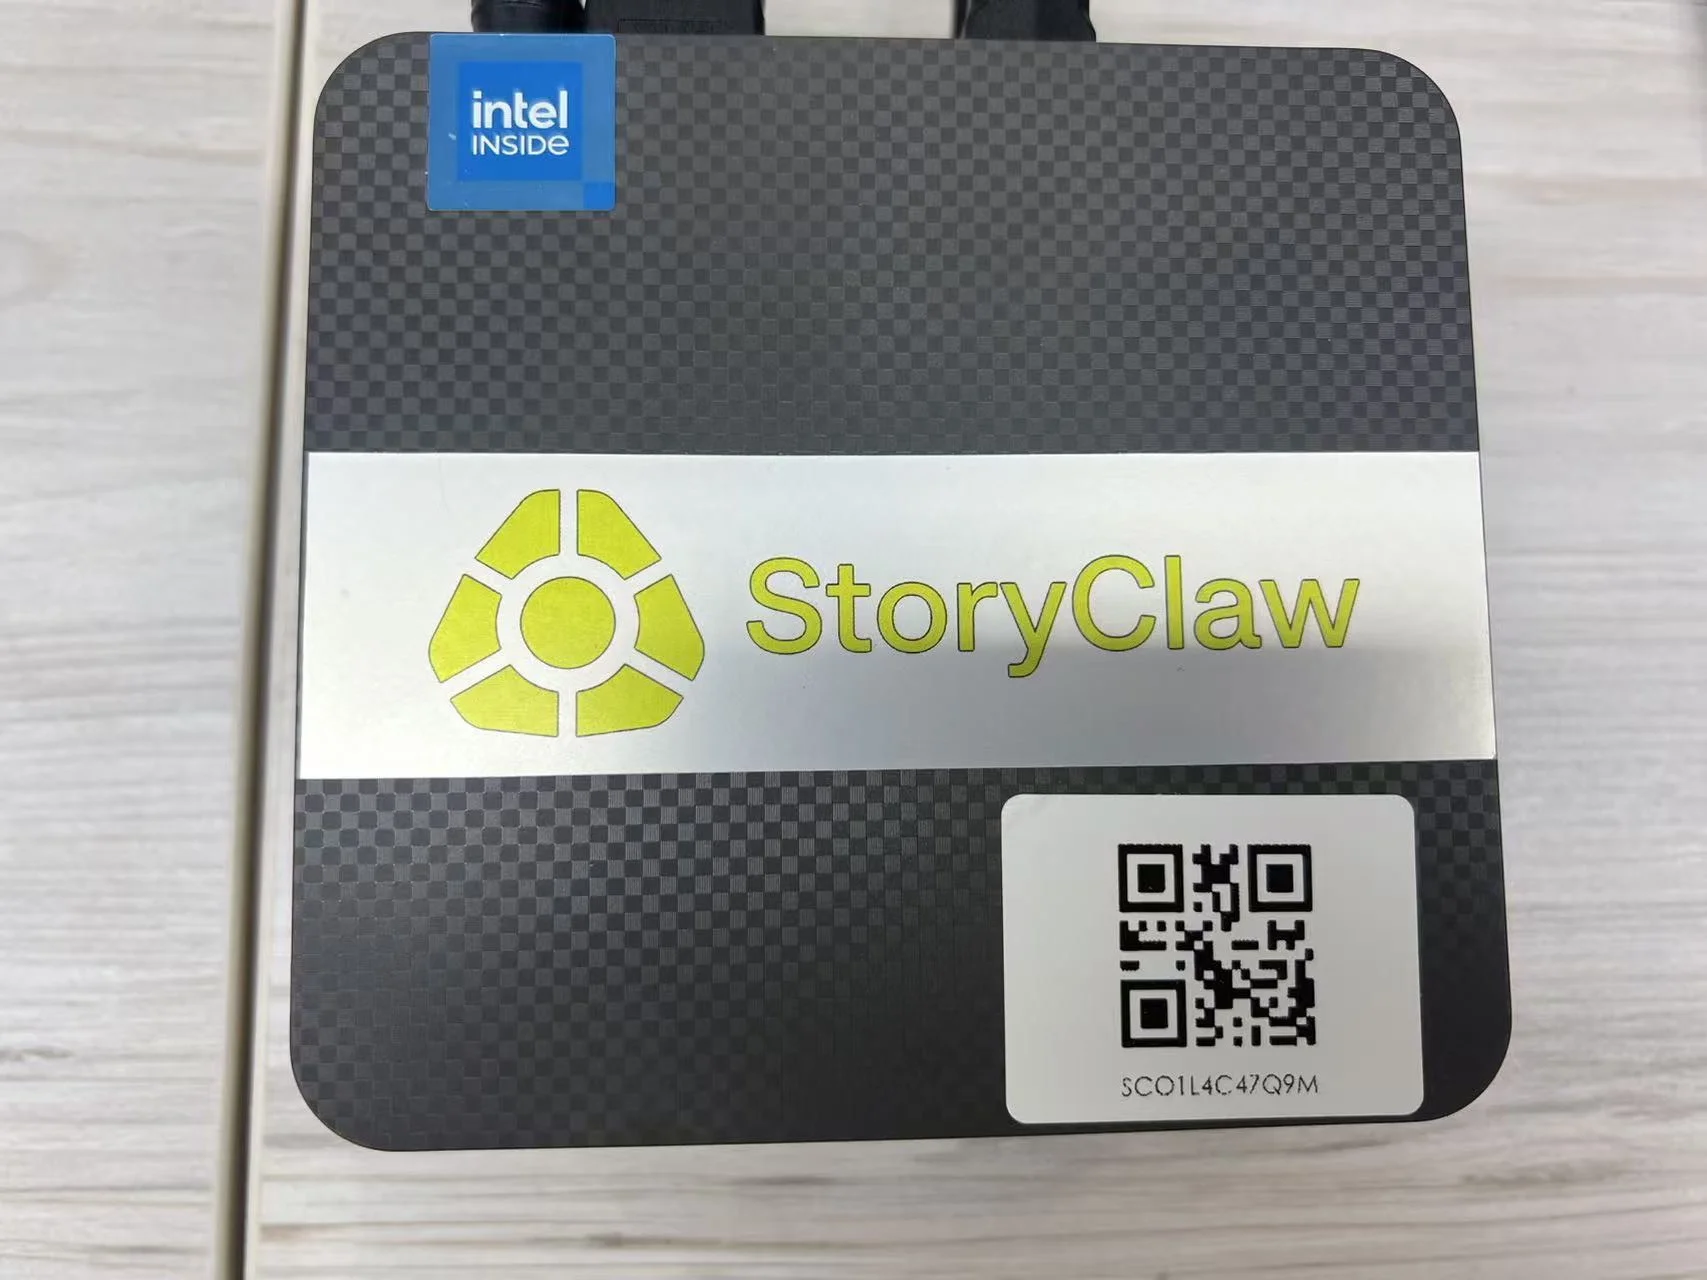
CLAW ONE 采用精简银灰包装出厂,设备机身为哑光碳纤维纹理面板,正面印有 StoryClaw 品牌标识及设备序列号标签。
CLAW ONE ships in a clean silver-grey box. The device features a matte carbon-fiber textured panel with the StoryClaw logo and serial number label on the front face.

产品参数 Tech Specs
| 参数 | 规格说明 |
|---|---|
| 型号 | CLAW ONE |
| 操作系统 | Ubuntu 22.04 LTS |
| 预装软件 | ClawOS 智能运行时 |
| CPU | Intel N95 · 4 核 4 线程 · 6MB 缓存 · 最高睿频 3.4GHz |
| 内存 | 8GB DDR4 |
| 网络 | 2.5G RJ45 · 双频 Wi-Fi 5 · 蓝牙 5.0 |
| 存储 | 128GB M.2 SSD |
| 存储插槽 | 2 × M.2 SSD(PCIe Gen3×2 / SATA) |
| 视频输出 | 2 × HDMI · 双屏 4K@60Hz |
| Specification | Details |
|---|---|
| Model | CLAW ONE |
| Operating System | Ubuntu 22.04 LTS |
| Pre-installed Software | ClawOS Smart Runtime |
| CPU | Intel N95 · Quad-Core · Up to 3.4GHz · 6MB Cache |
| Memory (RAM) | 8GB DDR4 |
| Connectivity | 2.5G RJ45 · Dual-Band Wi-Fi 5 · Bluetooth 5.0 |
| Storage | 128GB M.2 SSD |
| Storage Slots | 2 × M.2 SSD (PCIe Gen3×2 / SATA) |
| Video Output | 2 × HDMI · Dual Display 4K@60Hz |
关于设备 About the Device
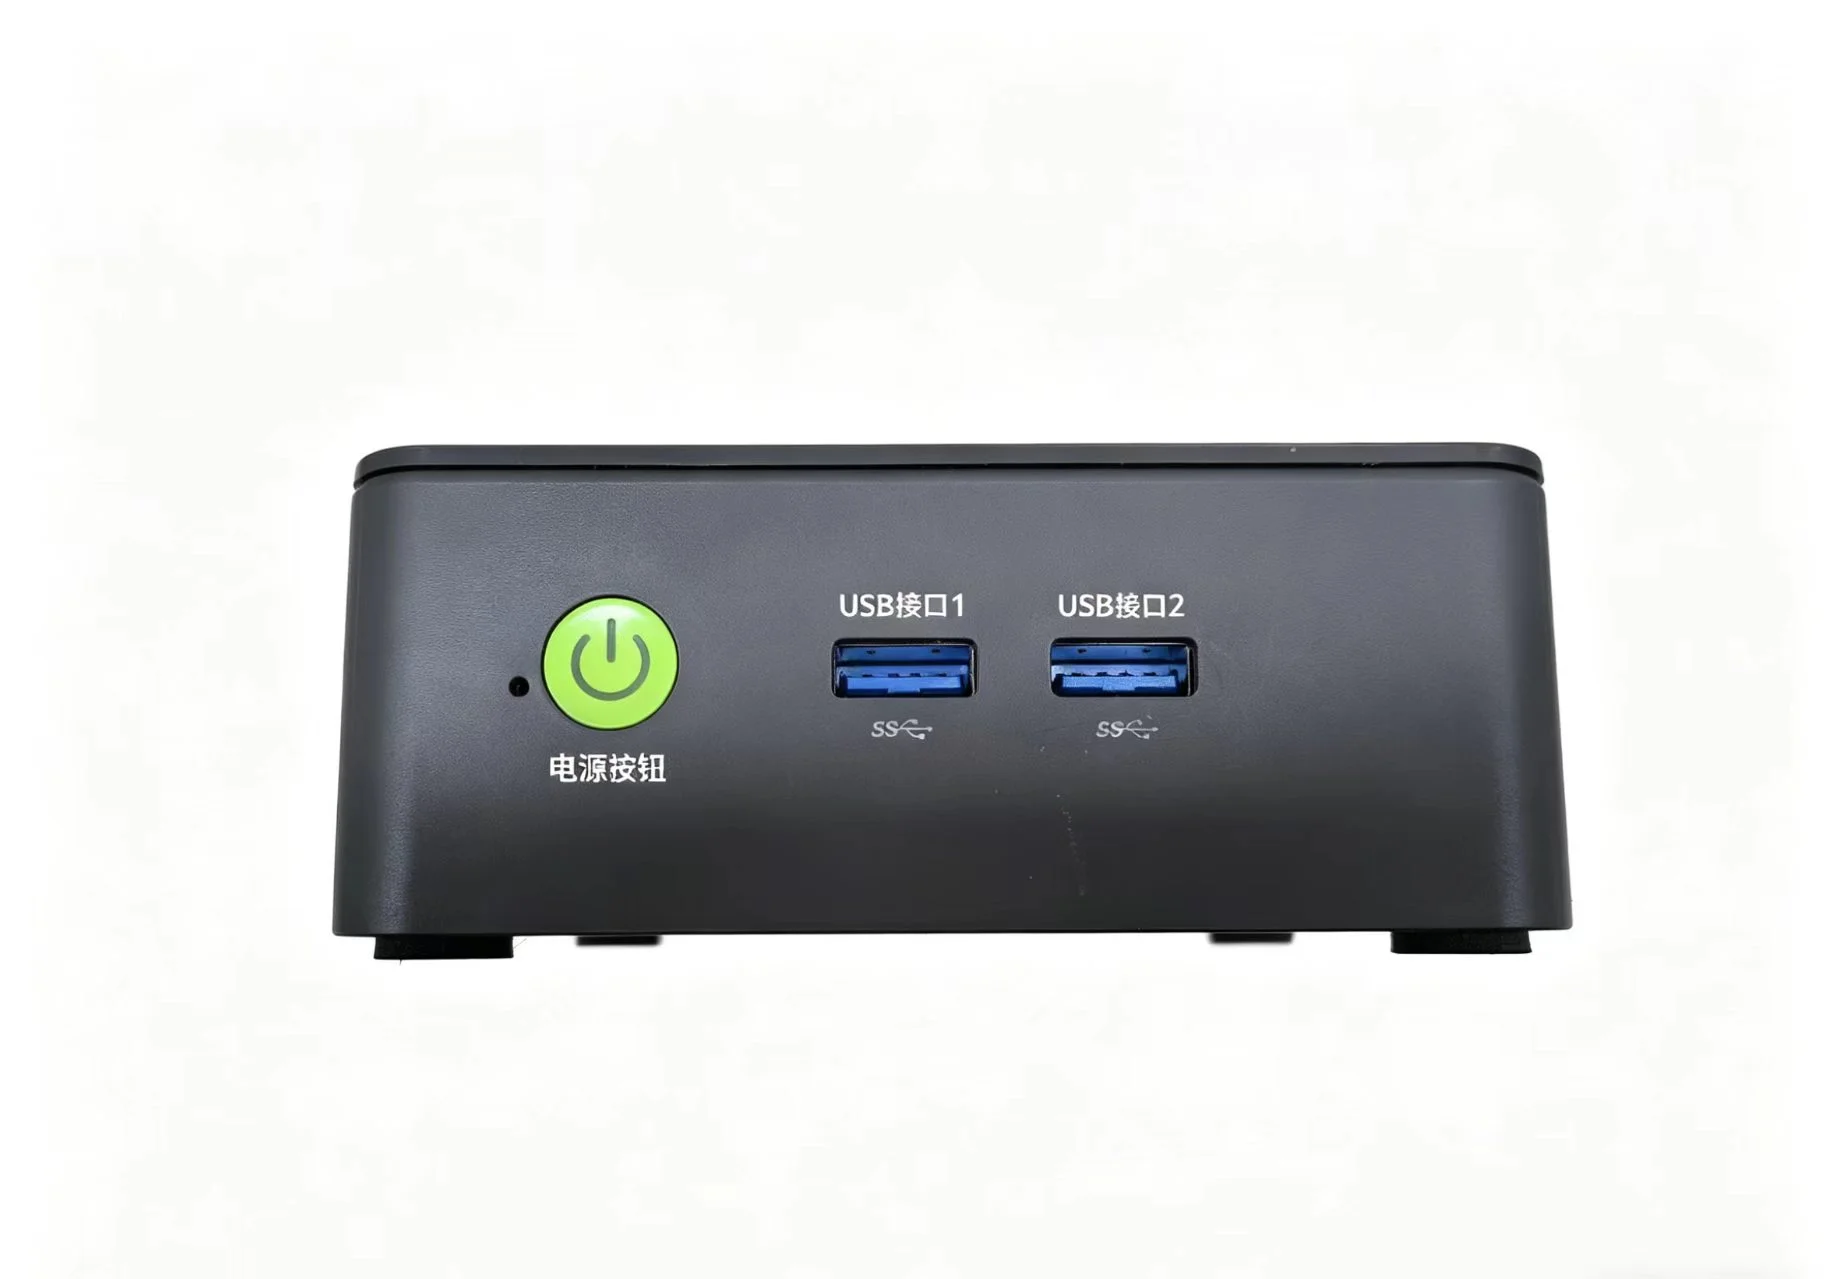
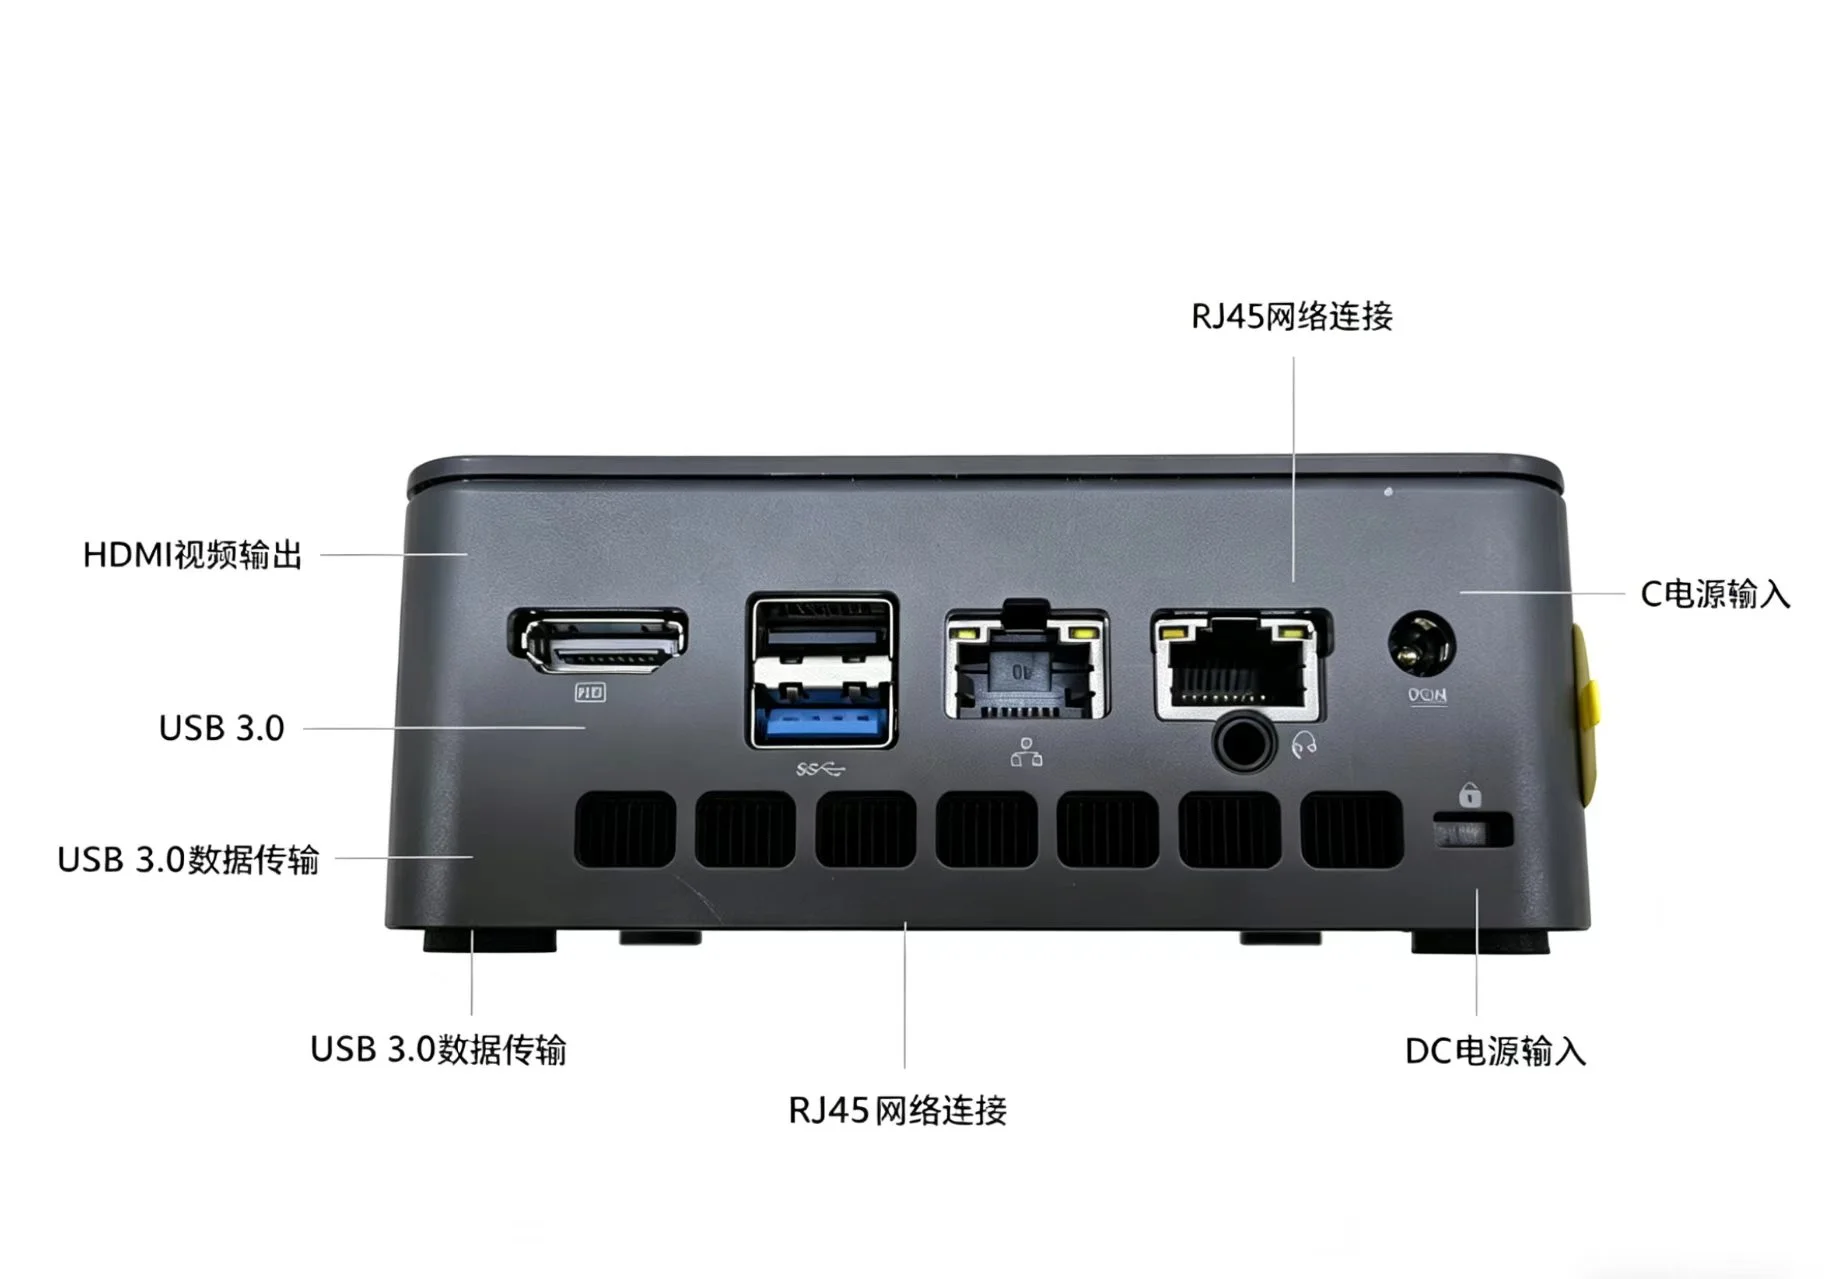
CLAW ONE 前面板提供常用 USB 接口与电源开关,后面板集中布置视频输出、网络及电源接口。
The CLAW ONE front panel provides everyday USB ports and the power button; the rear panel consolidates video output, networking, and power connections.
连接步骤 Connection Steps
按以下顺序完成硬件连接,首次启动约需 1~2 分钟,请勿中途断电。
Follow the steps below to complete hardware setup. First boot takes about 1–2 minutes — do not cut power during this process.
连接电源适配器 Connect the power adapter
将随机附带的电源适配器(12V 3A)插入机身后面板的电源接口。请务必使用原装适配器,非原装适配器可能导致设备无法正常启动。
Plug the included power adapter (12V 3A) into the DC power port on the rear panel. Always use the original adapter — third-party adapters may prevent the device from booting correctly.
连接显示器(可选) Connect a display (optional)
将 HDMI 线一端插入设备后面板的 HDMI 接口,另一端连接显示器。设备支持双屏输出(2 × HDMI 4K@60Hz)。如仅使用手机配网,无需接显示器。
Connect one end of the HDMI cable to the device's rear HDMI port and the other end to your display. The device supports dual-screen output (2 × HDMI 4K@60Hz). A display is not required if you are using the hotspot setup method.
连接键盘和鼠标(可选) Connect keyboard and mouse (optional)
将 USB 键盘和鼠标插入前面板或后面板的 USB-A 接口。如仅通过手机完成配网与绑定,无需接键盘鼠标。
Plug USB keyboard and mouse into any available USB-A port on the front or rear panel. These are not required if you complete setup via mobile.
按下电源开关,等待启动 Press the power button and wait for boot
按下前面板电源开关,设备开始启动。首次启动进入系统桌面约需 1~2 分钟,期间请勿断电。电源指示灯常亮表示系统已正常运行。
Press the front panel power button to start the device. First boot to desktop takes about 1–2 minutes — keep power connected throughout. A steady power indicator light means the system is running normally.
确认设备热点已广播 Confirm device hotspot is broadcasting
启动约 1 分钟后,若设备未检测到已保存的 WiFi,会自动开启名为 StoryClaw_XXXXXX 的热点,进入下一步配网流程。若已通过网线联网,则跳过此步骤。
About 1 minute after boot, if no saved WiFi is detected, the device automatically broadcasts a hotspot named StoryClaw_XXXXXX. Proceed to the next activation step. If you connected via Ethernet, skip this step.