
Hotspot Setup
Connect your phone to the device hotspot, enter your WiFi password, and bind your account.
First-time activation takes about 3–5 minutes. Once WiFi and account binding are complete, the device connects automatically on every subsequent boot.
WiFi Requirements
- Recommended: Home broadband, office direct WiFi (password only)
- Note: For hotel, airport, or mall networks requiring a browser login page, connect a monitor, mouse, and keyboard to the device first to complete authentication
Think twice before changing your bound email
- First-bind bonus: The first bound email receives 2,000 bonus credits (Token). Unbinding and switching to a new email forfeits this bonus
- Credits are non-transferable: Credits already topped up to the original email cannot be moved to a new one
- Sharing: To let others use the device, add shared emails in device settings (up to 5) — no need to unbind your account
Tip
Flow: Boot → Join hotspot → Enter WiFi → Switch back → Sign in → Bind device
Steps
-
Power on, wait 1 minute
Plug in the power adapter → press the power button → wait about 1 minute. No display needed.
-
Connect phone to device hotspot
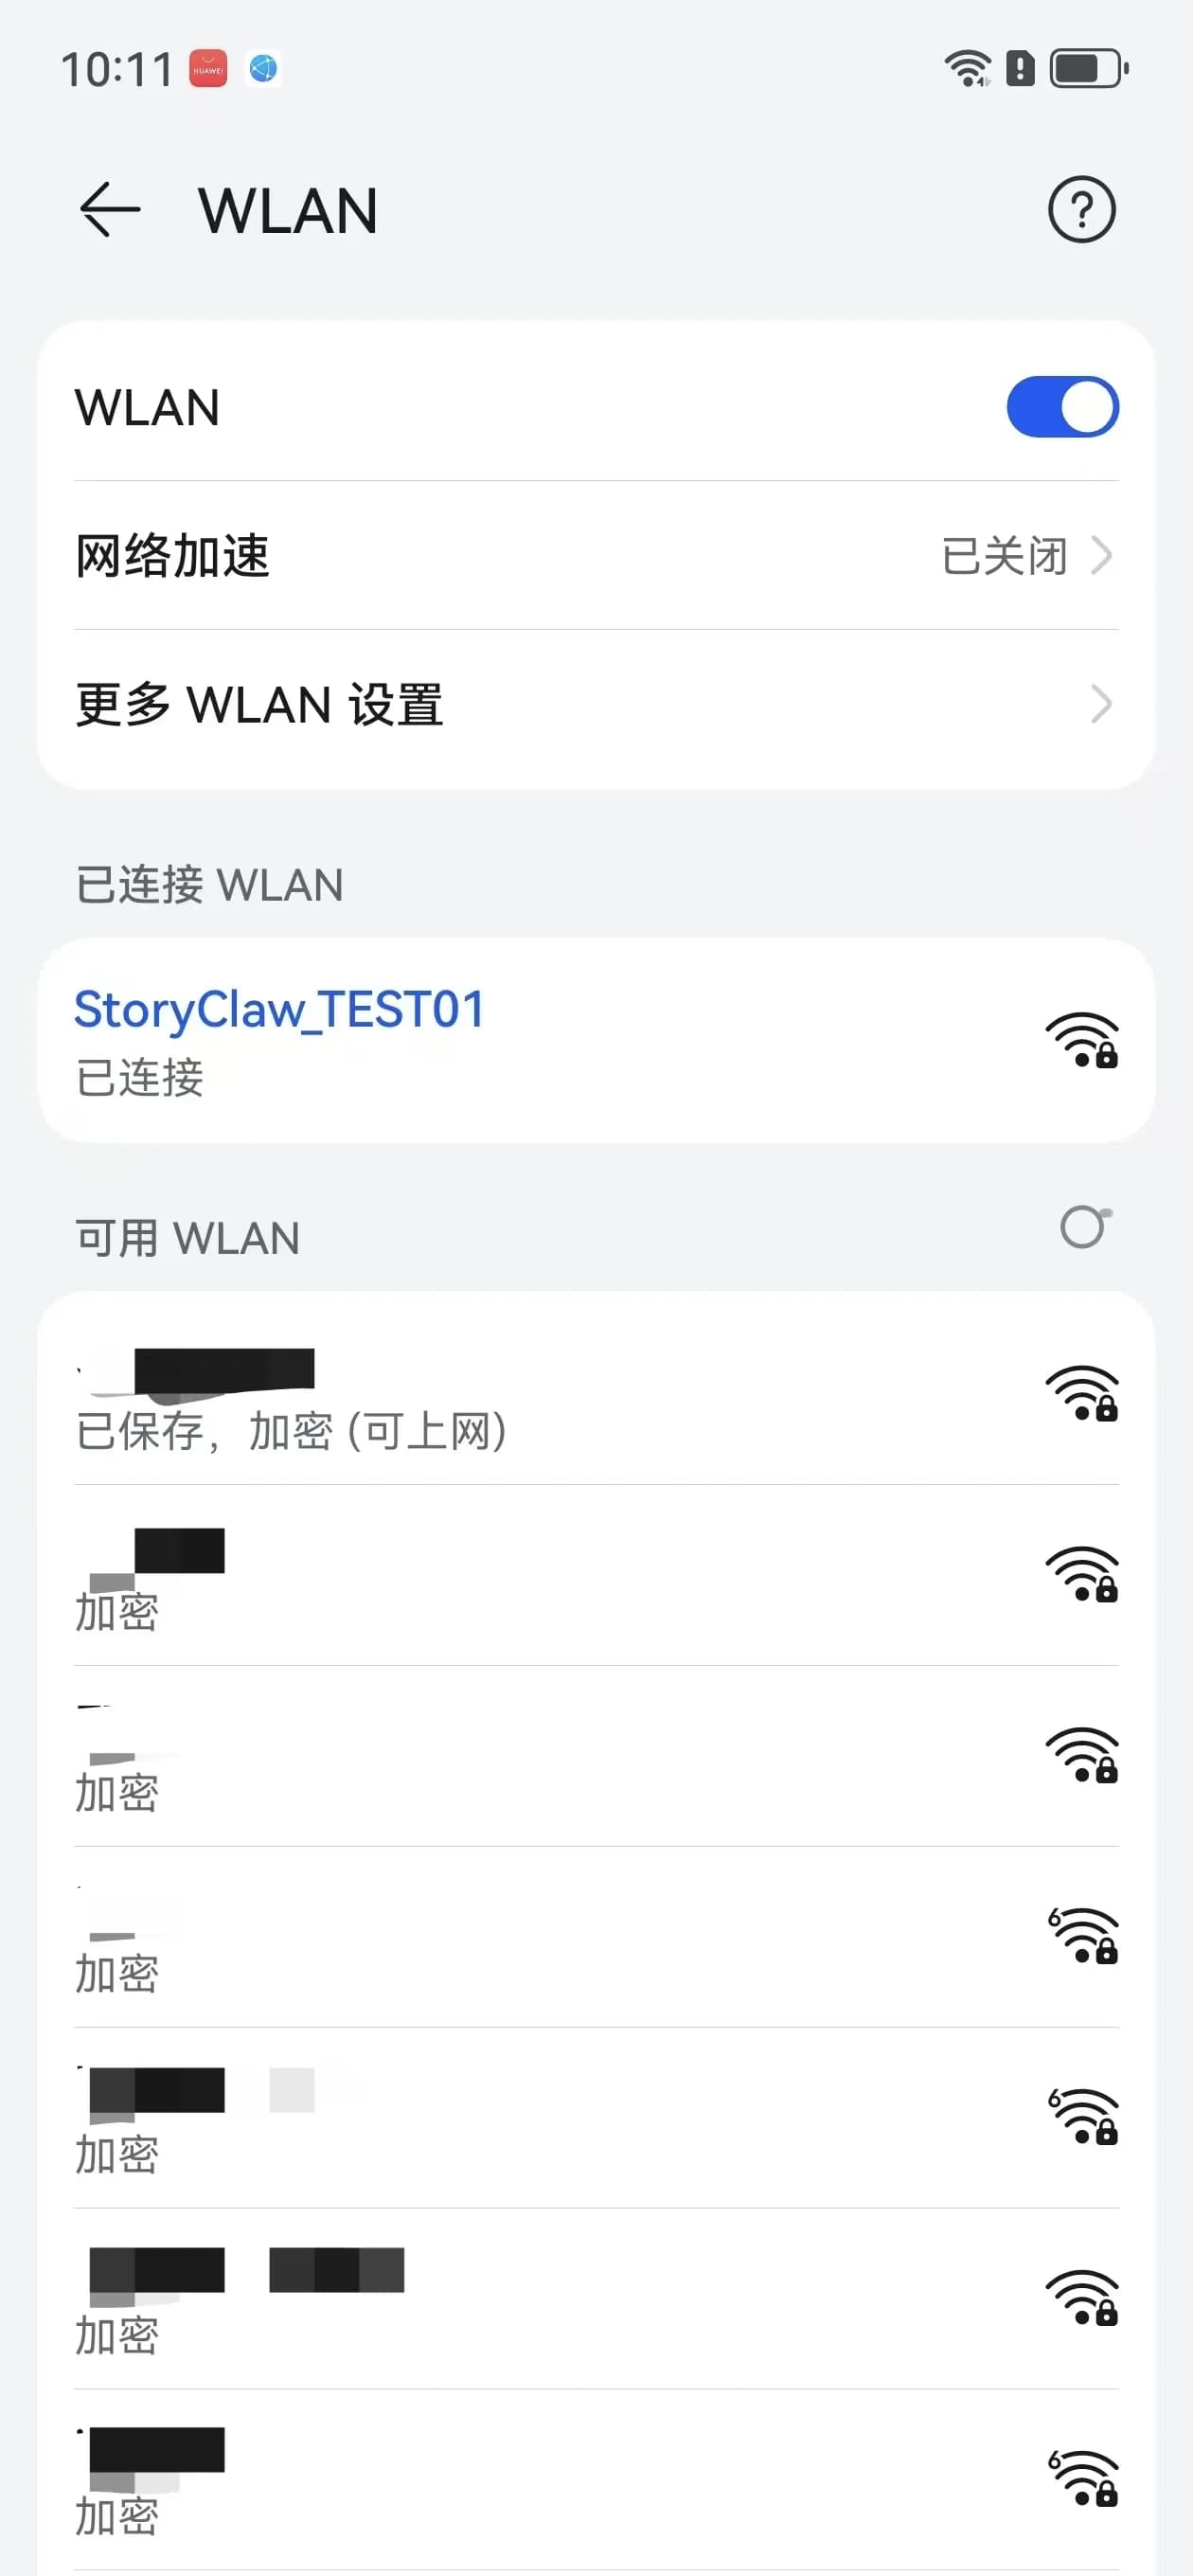
Open phone WiFi and connect to:
- SSID:
StoryClaw_XXXXXX - Password:
clawos2026
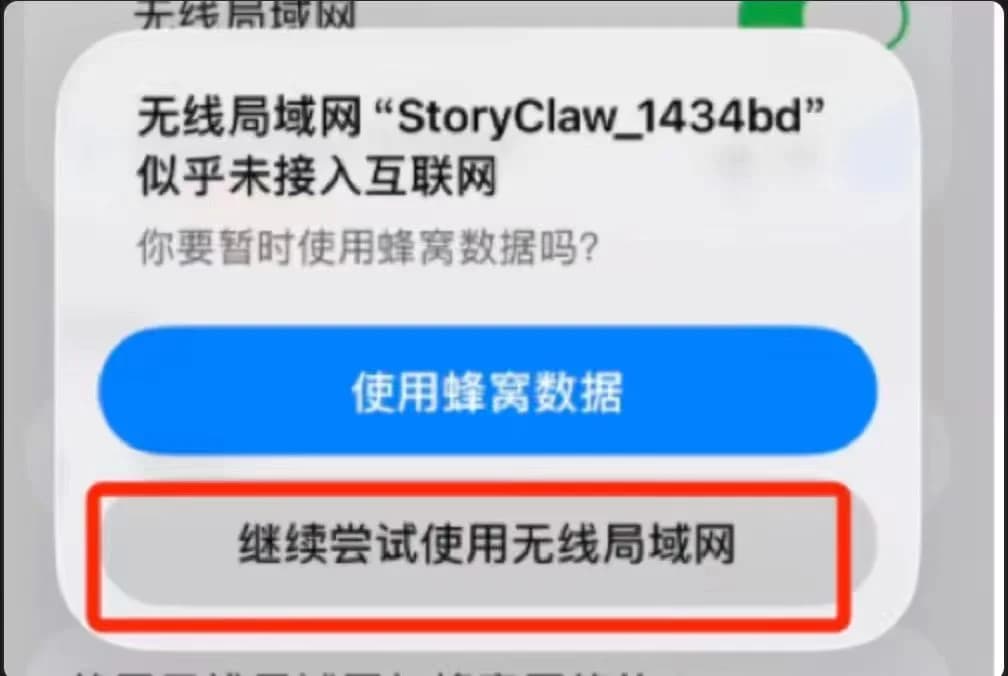
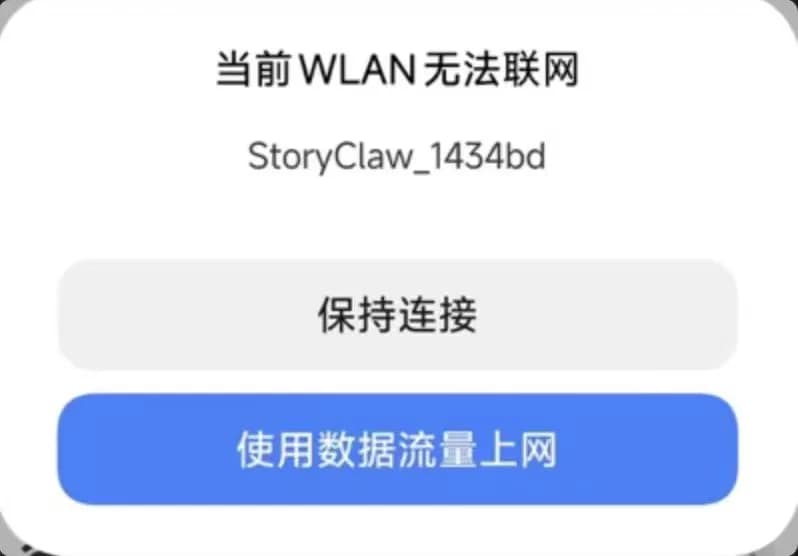
Ignore the "No Internet" warning — tap as shown and stay connected:
Tip
The hotspot stays active for 15 minutes, then closes automatically. Complete setup promptly after the hotspot appears; if it disappears, power cycle the device and start over. - SSID:
-
Open setup page, enter WiFi password
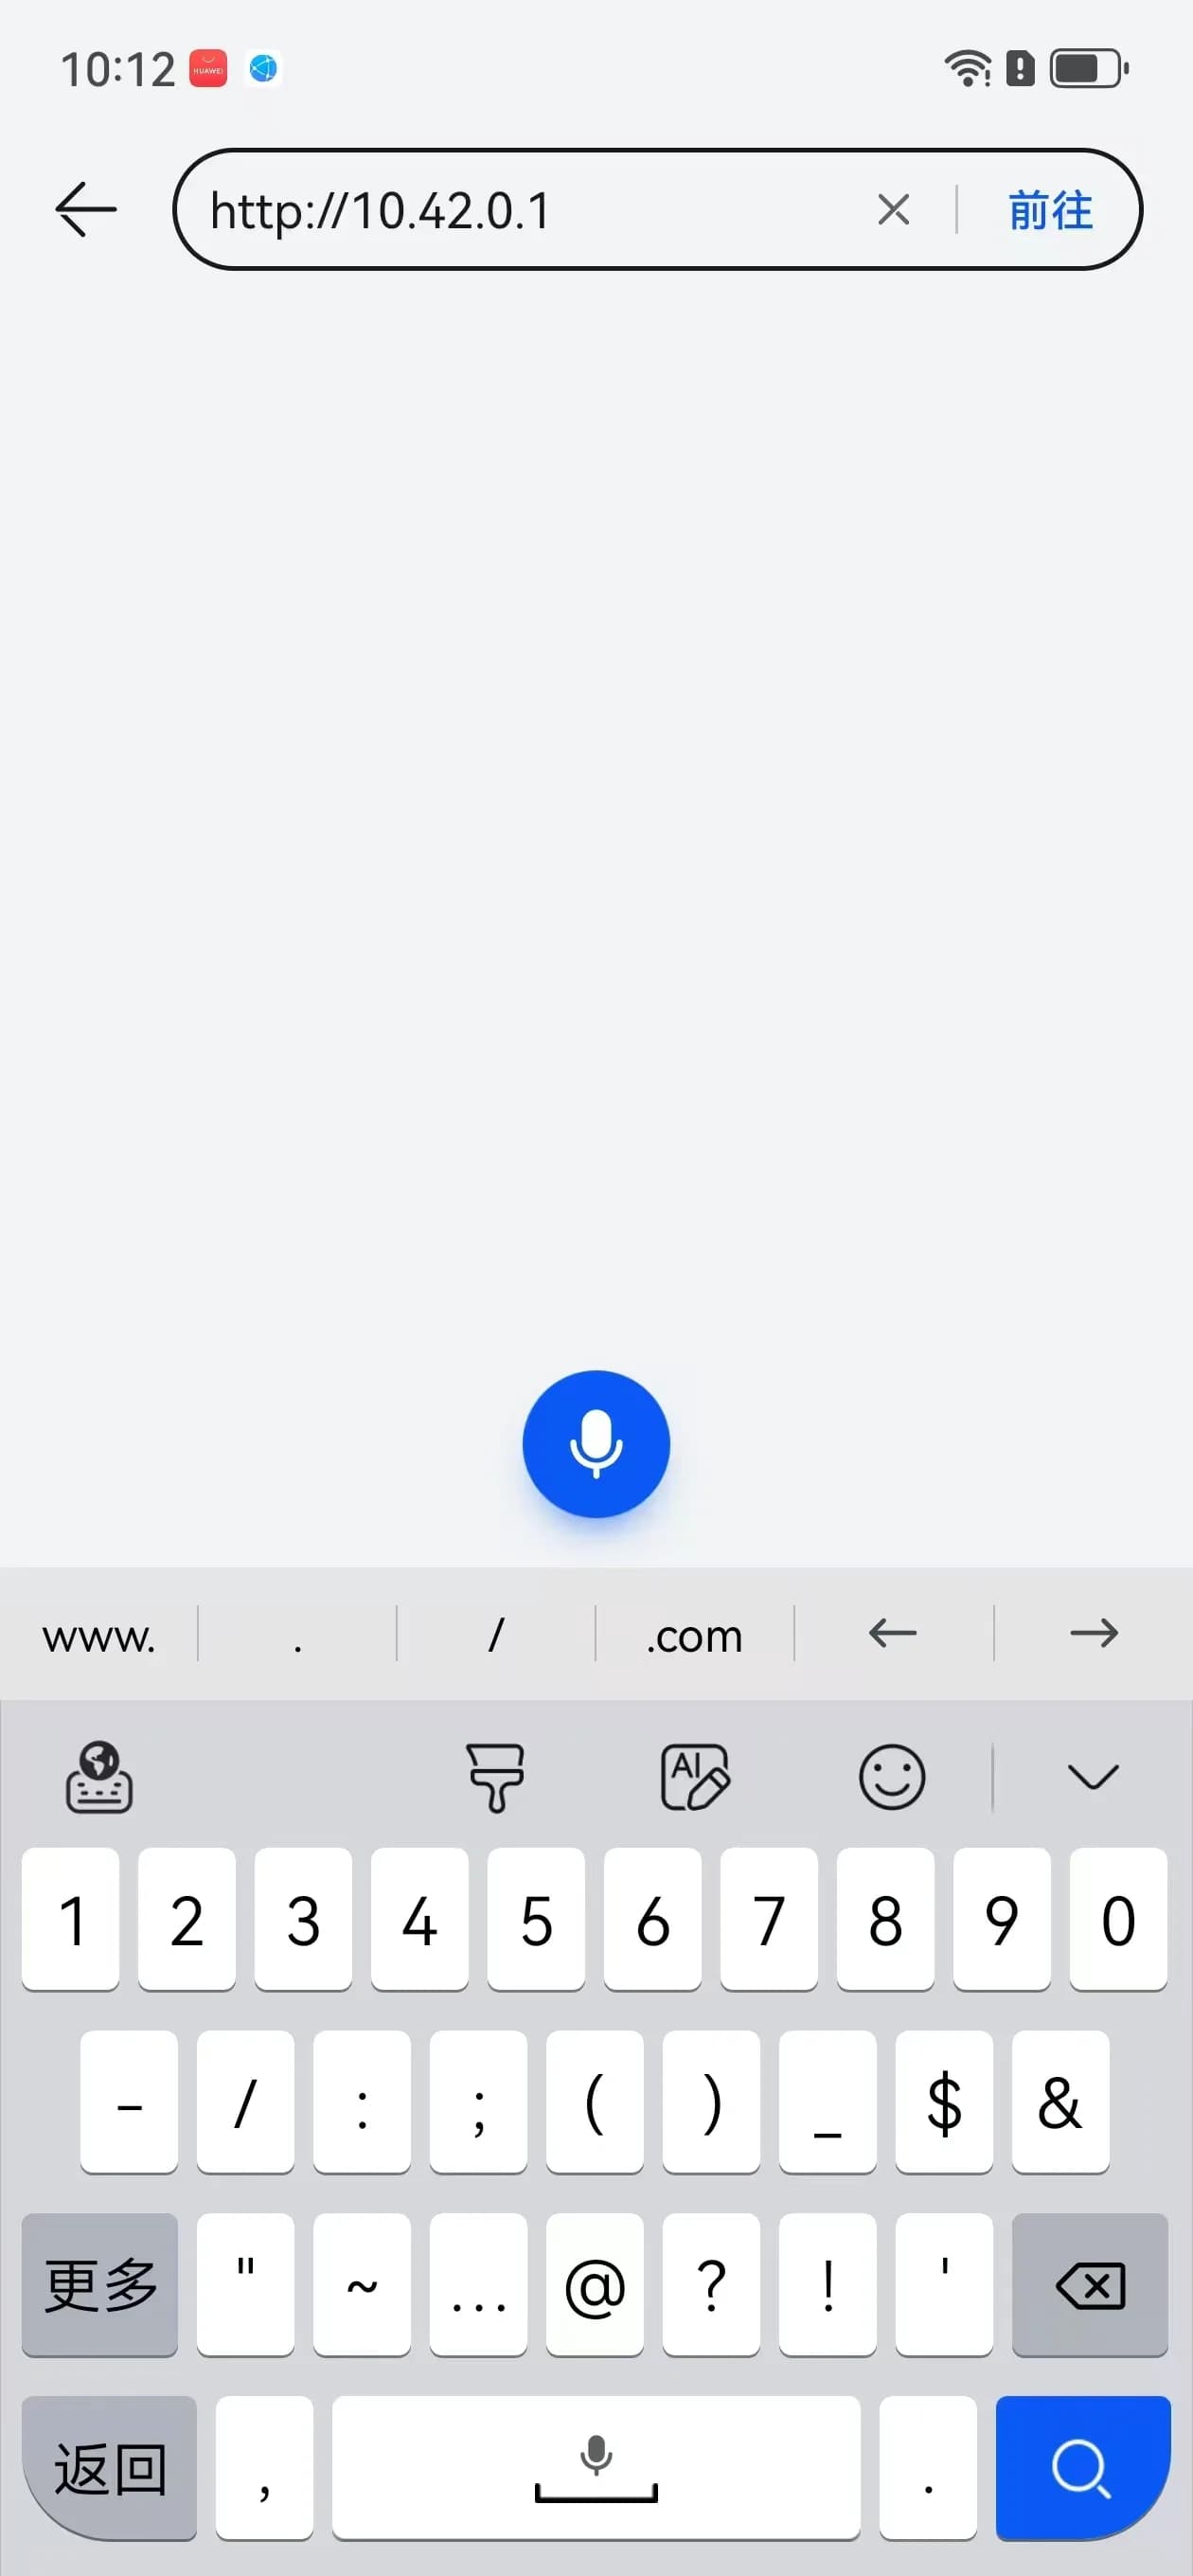
In your browser address bar (use http, type directly, don't search):
http://10.42.0.1Select your home WiFi → enter password → tap "Connect".
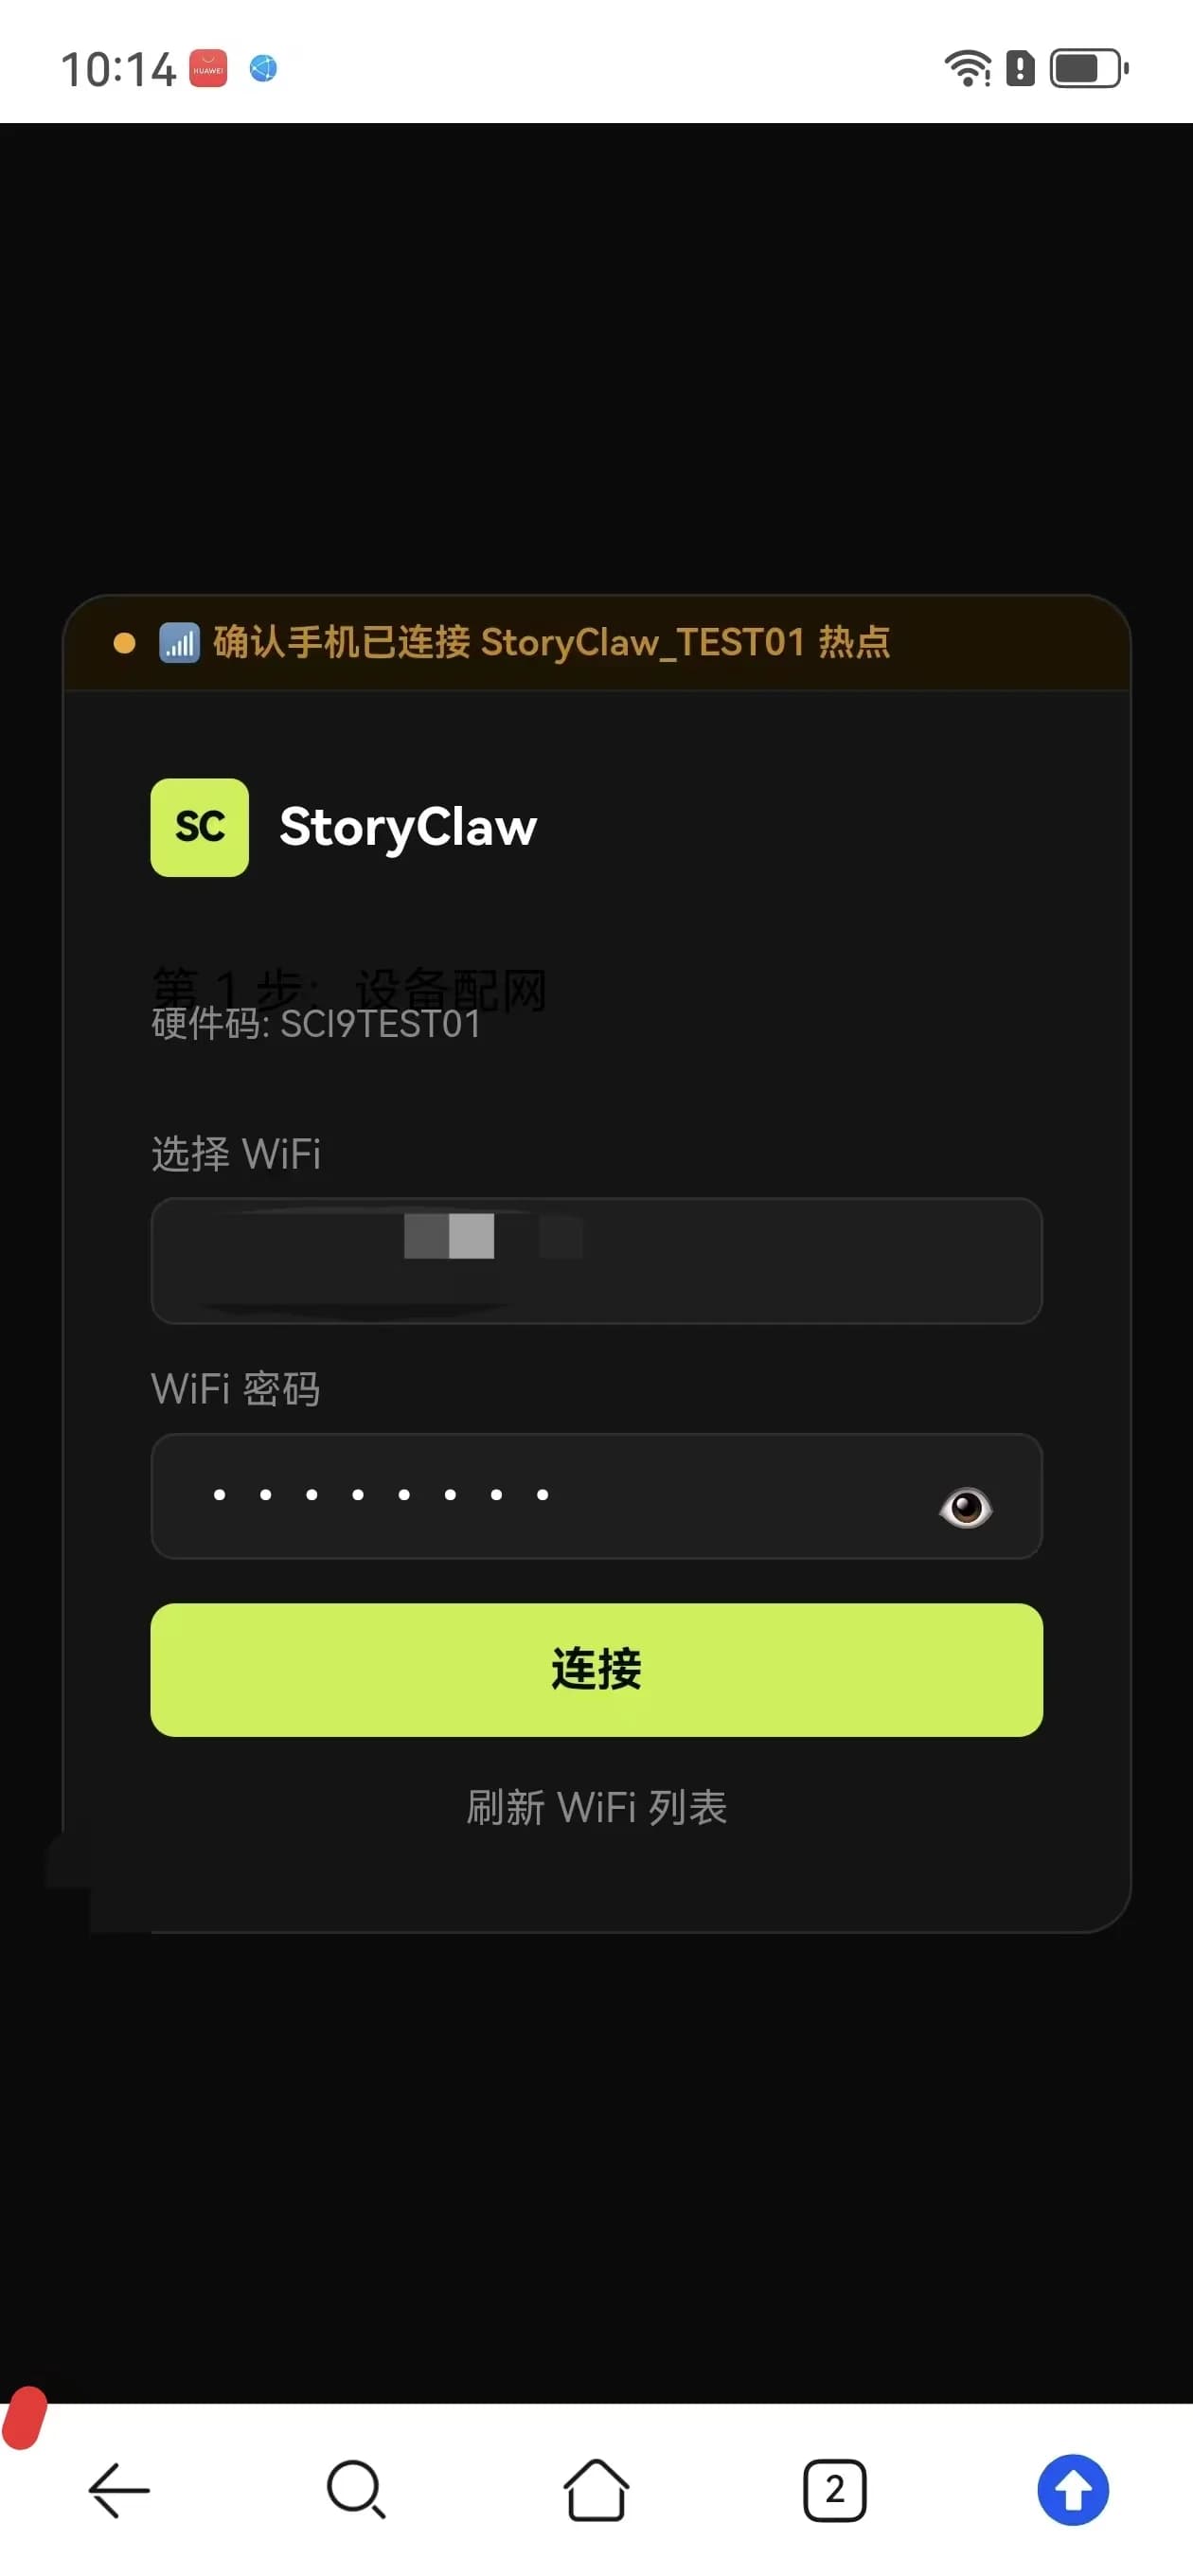
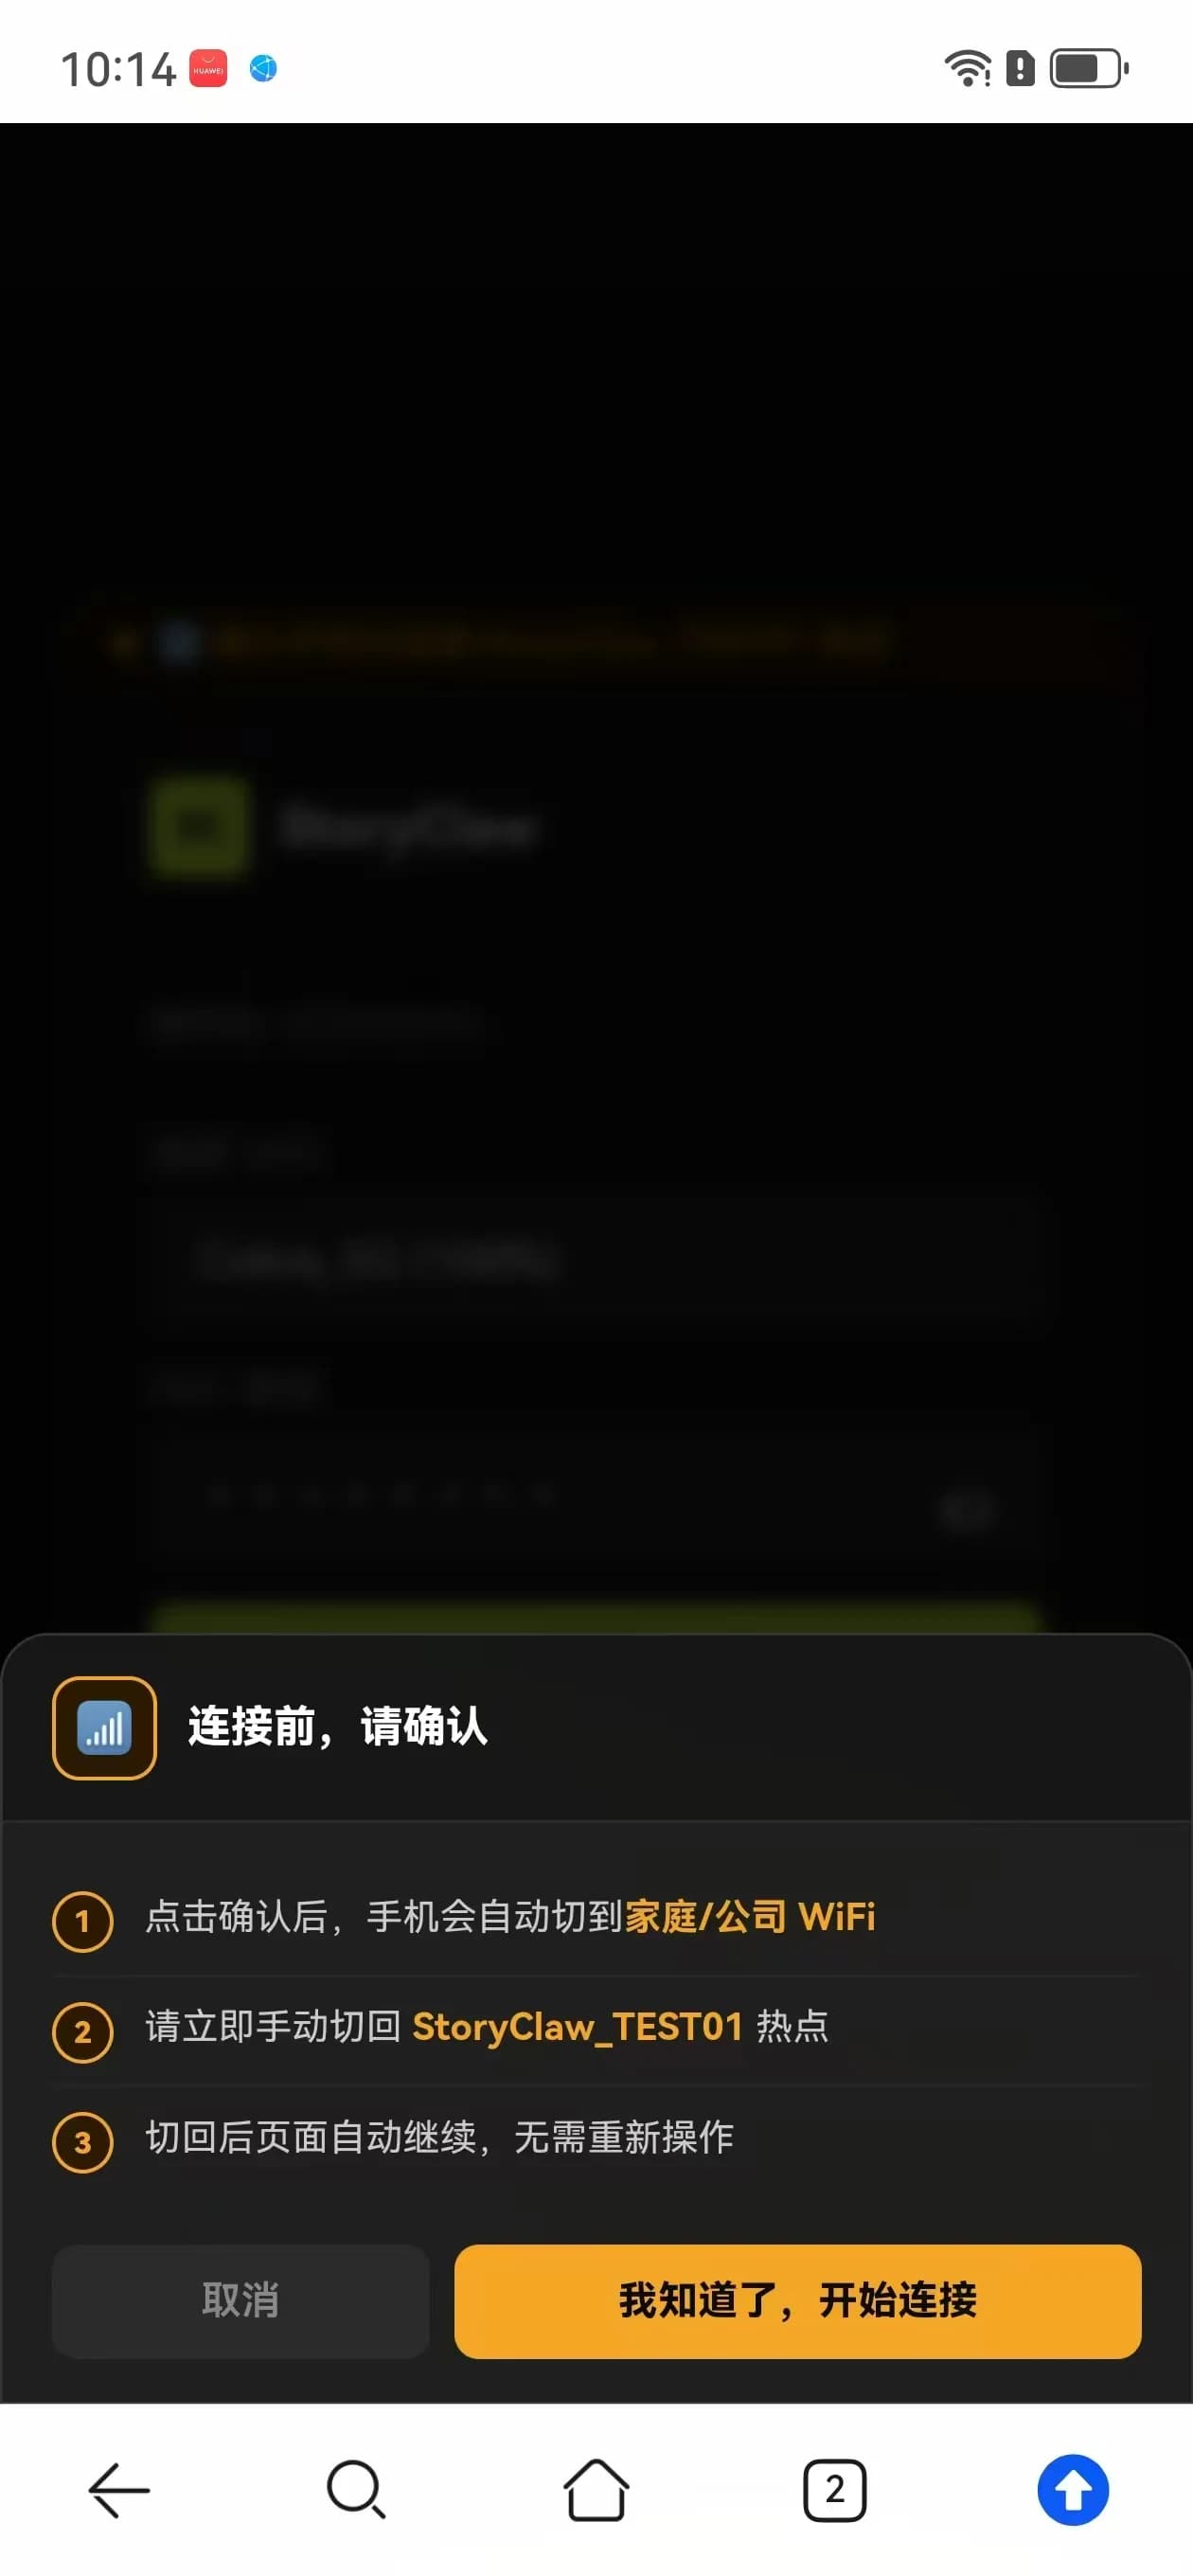
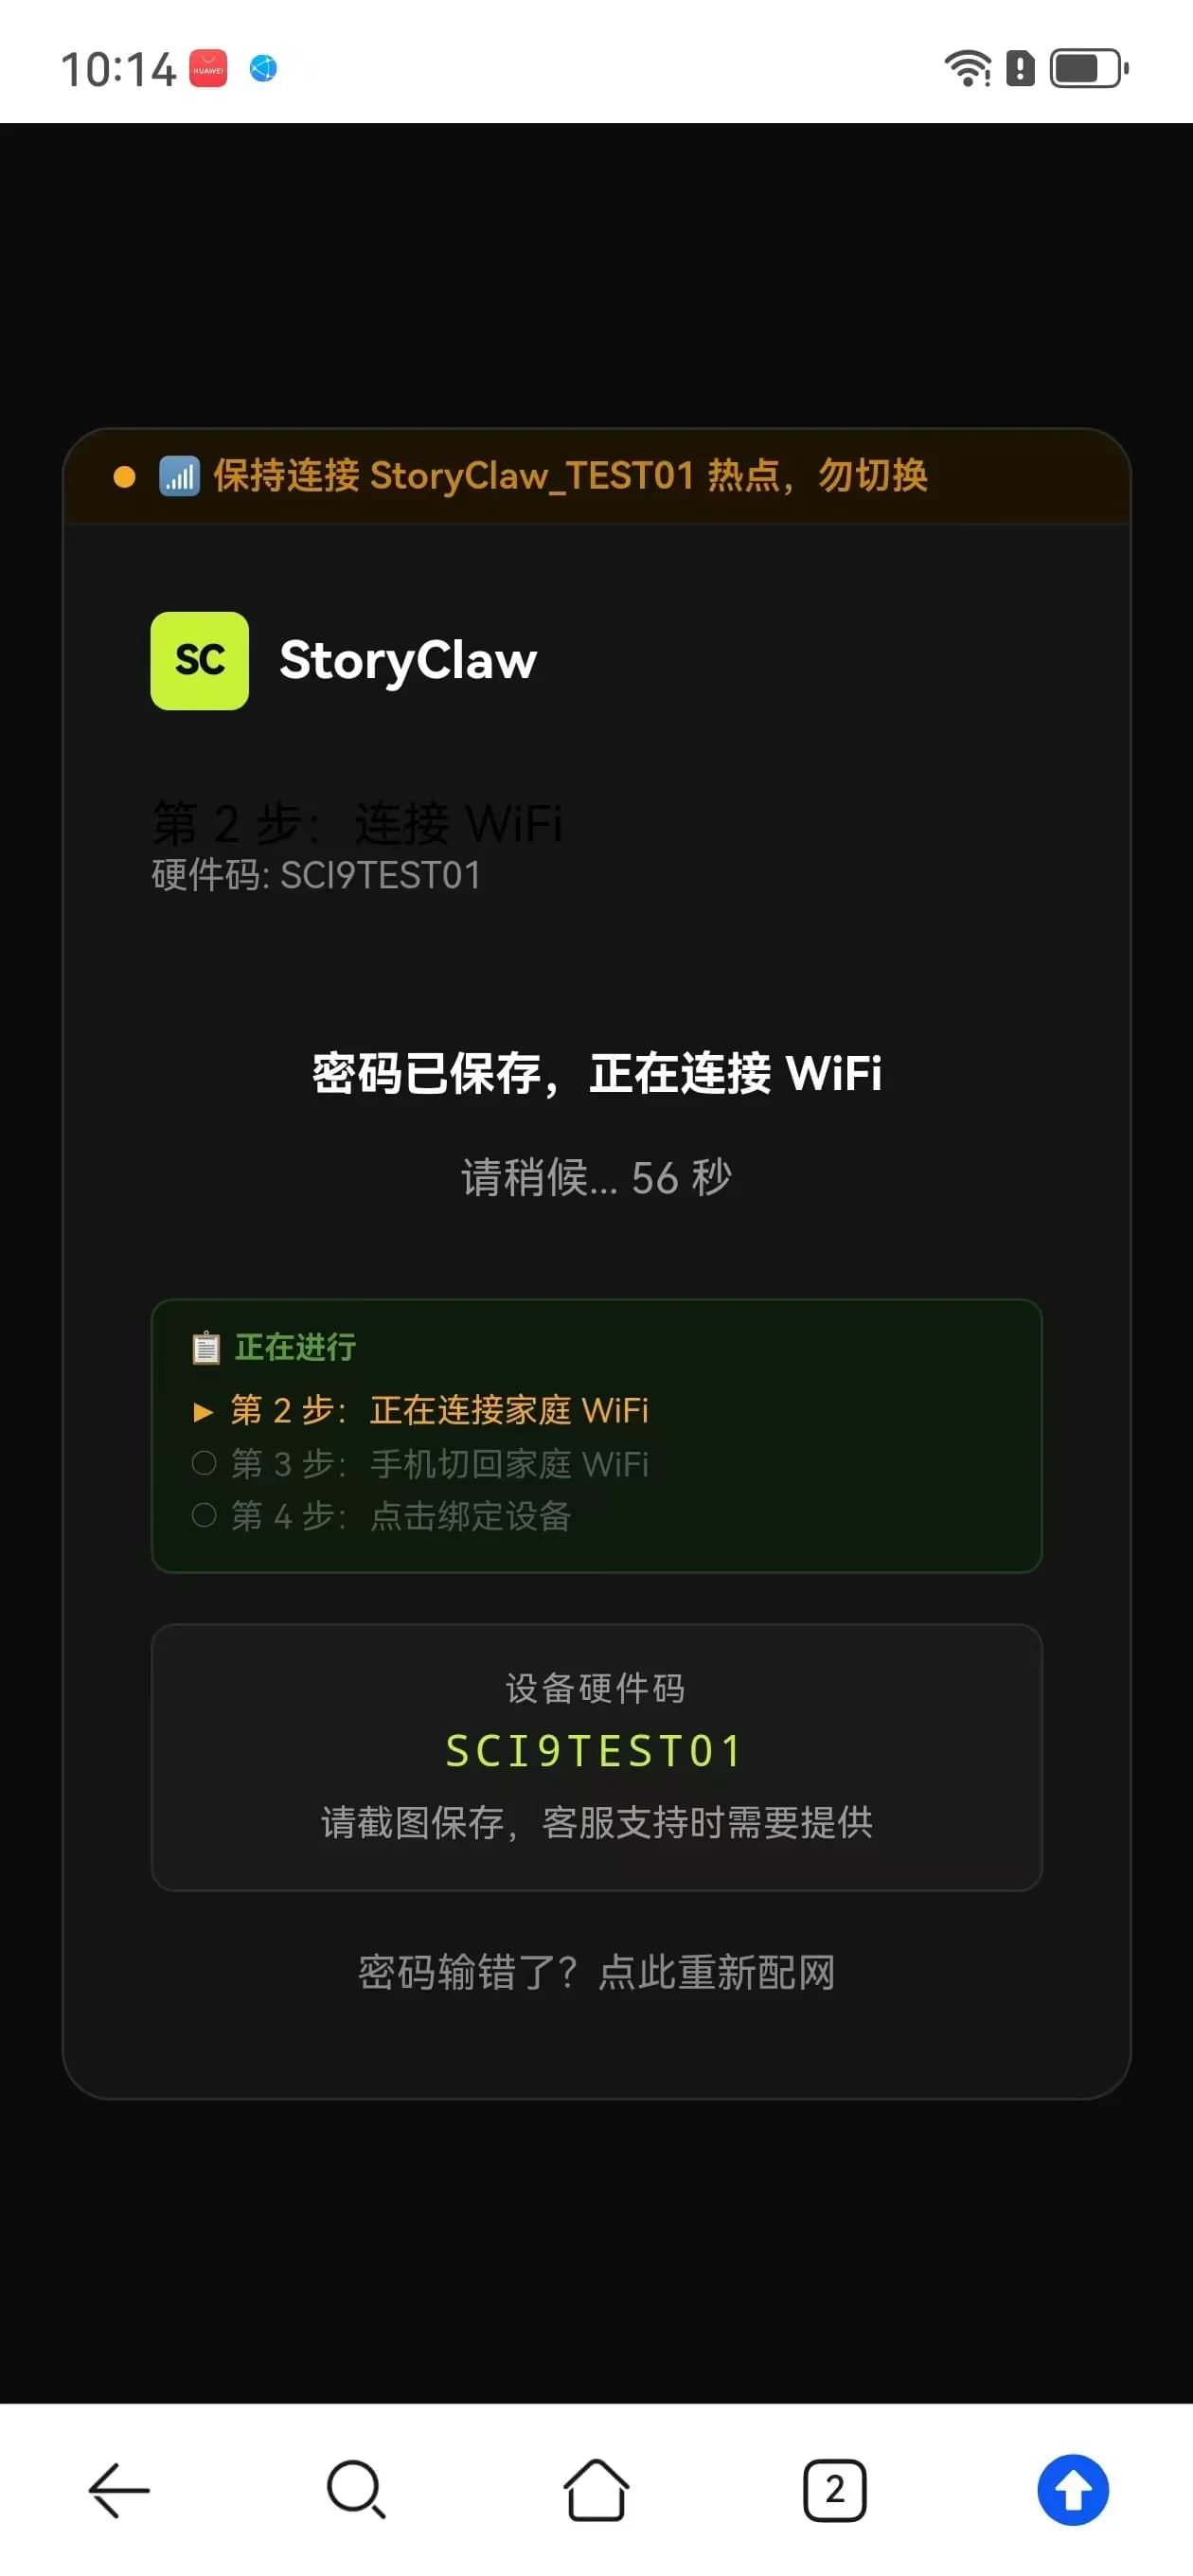
-
Switch back to home WiFi
See "WiFi Connected" → switch back to home WiFi → wait 15s → tap "I've switched back →".
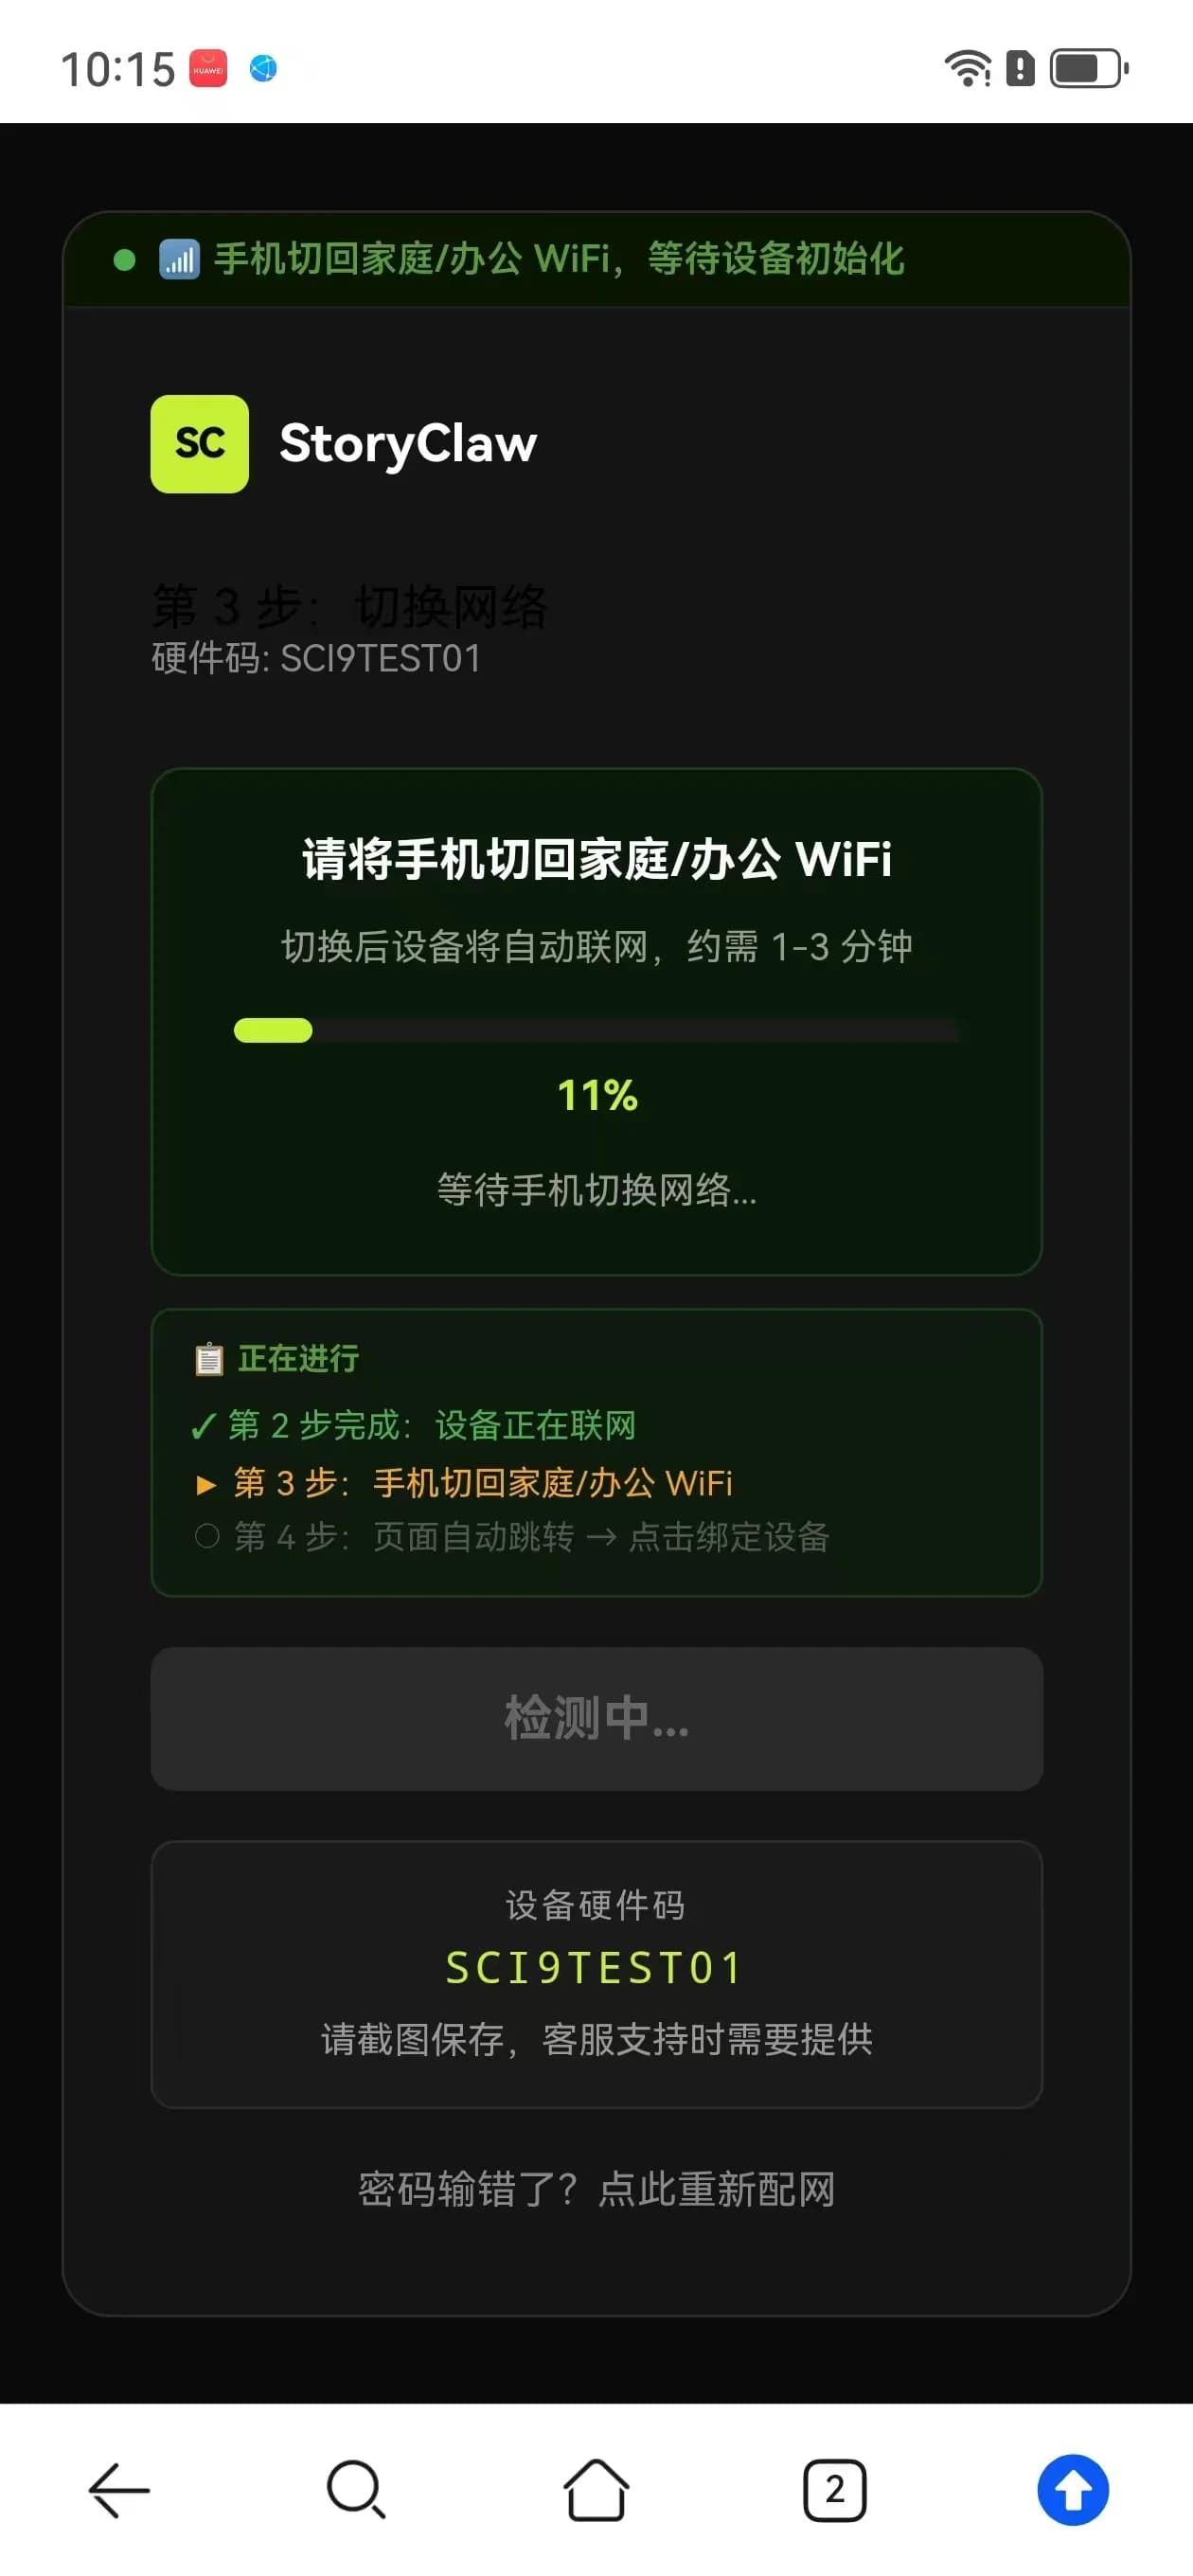
-
Sign in and bind device
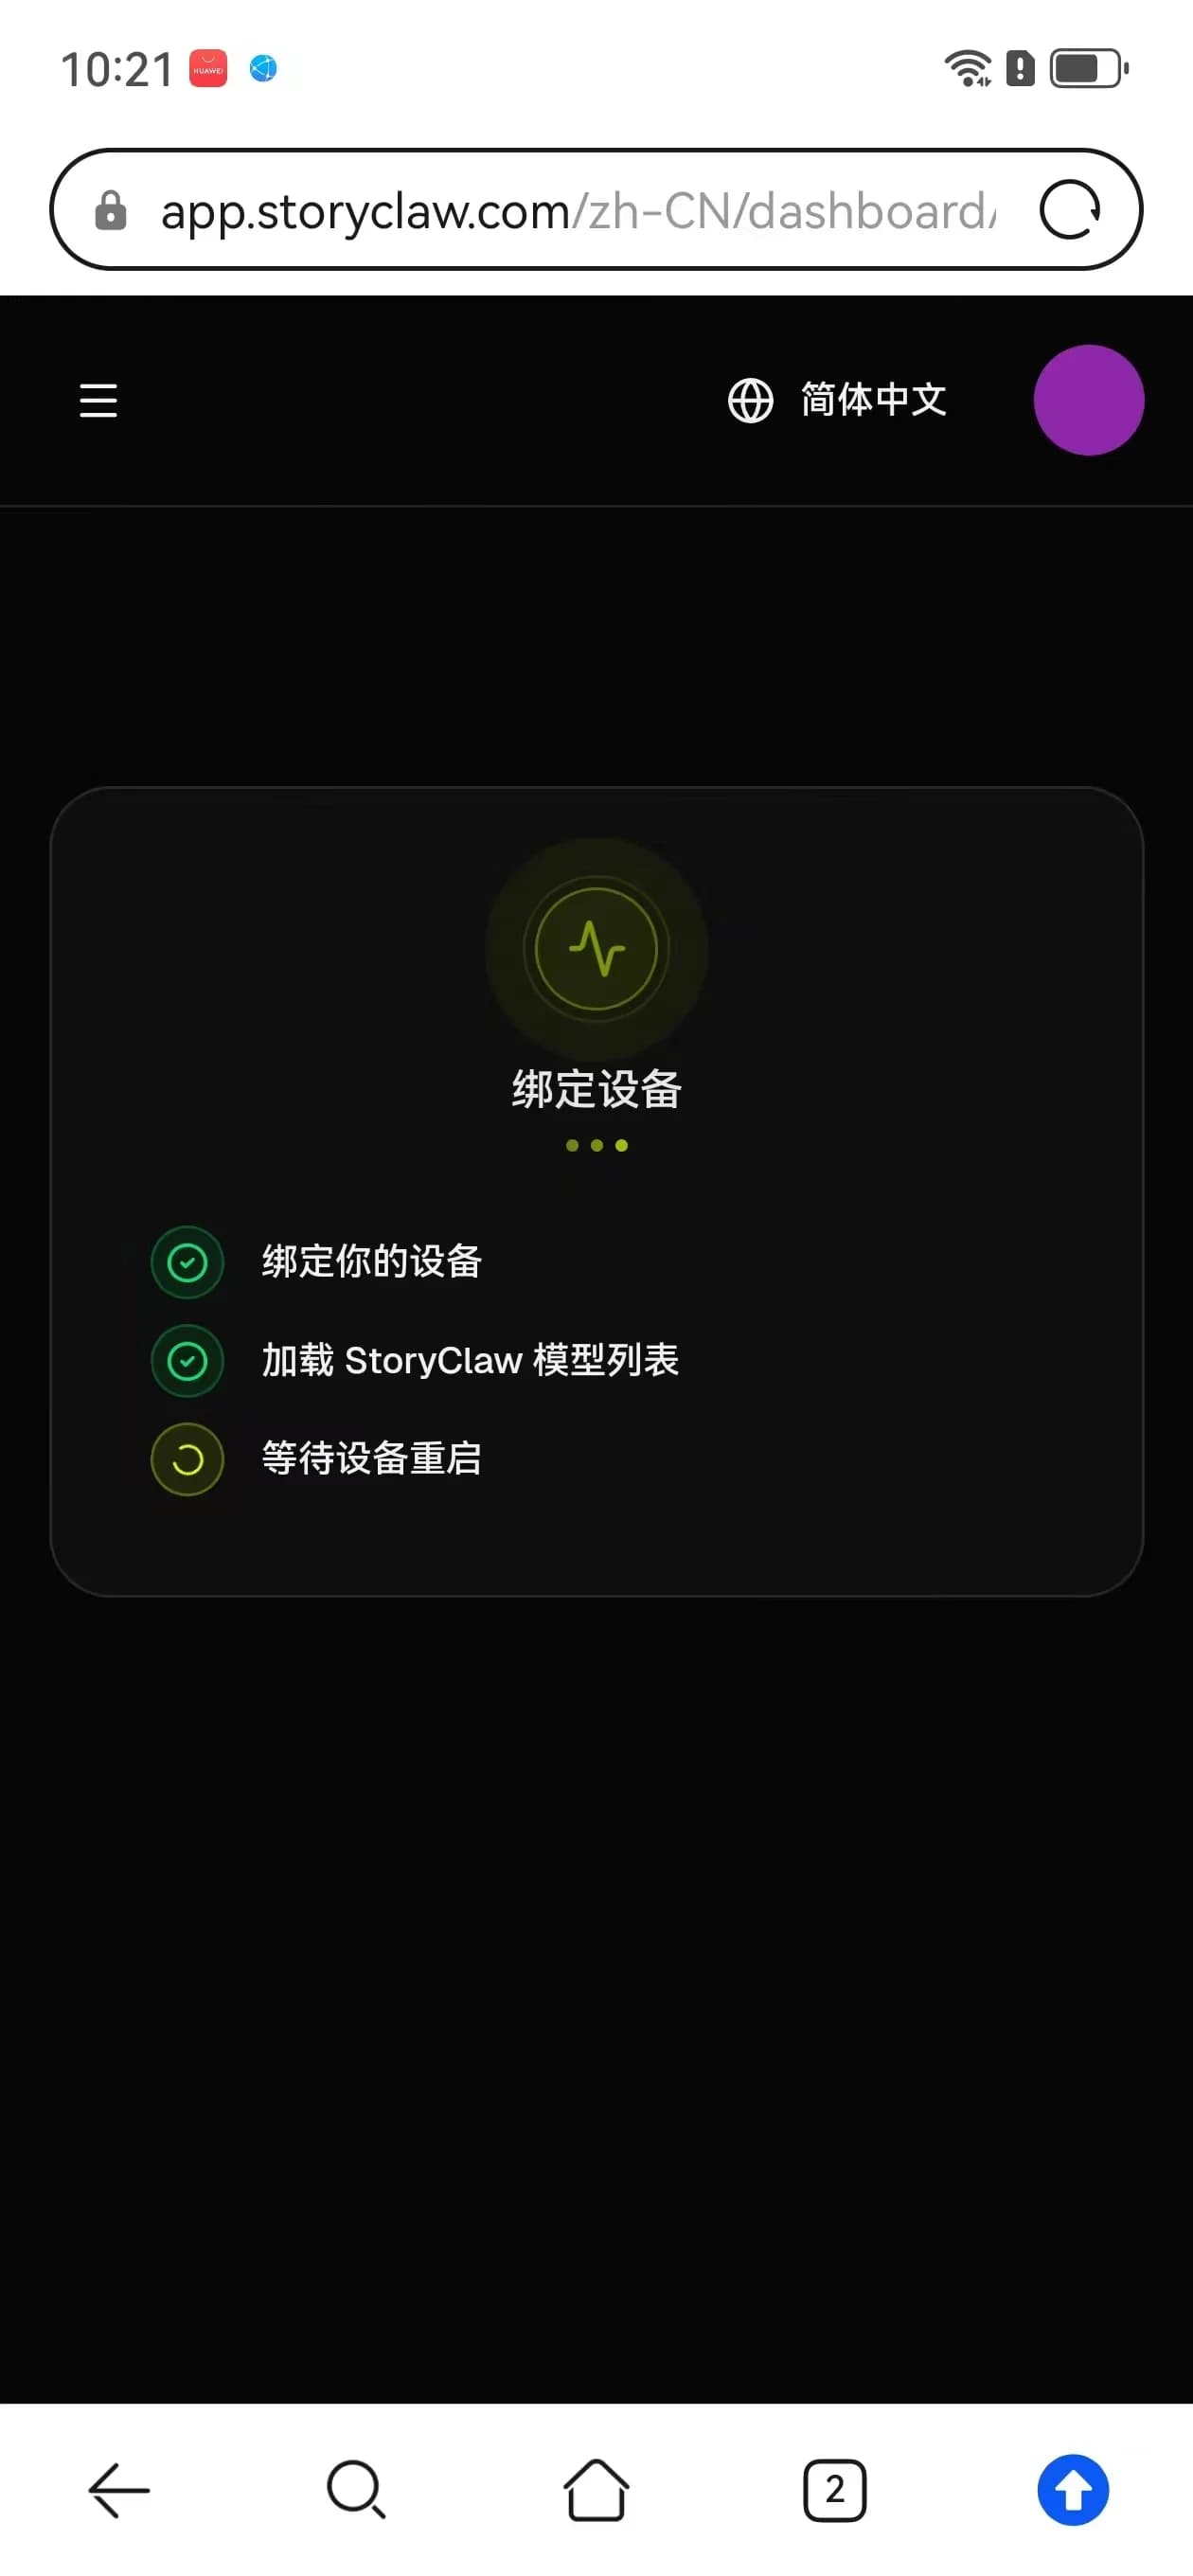
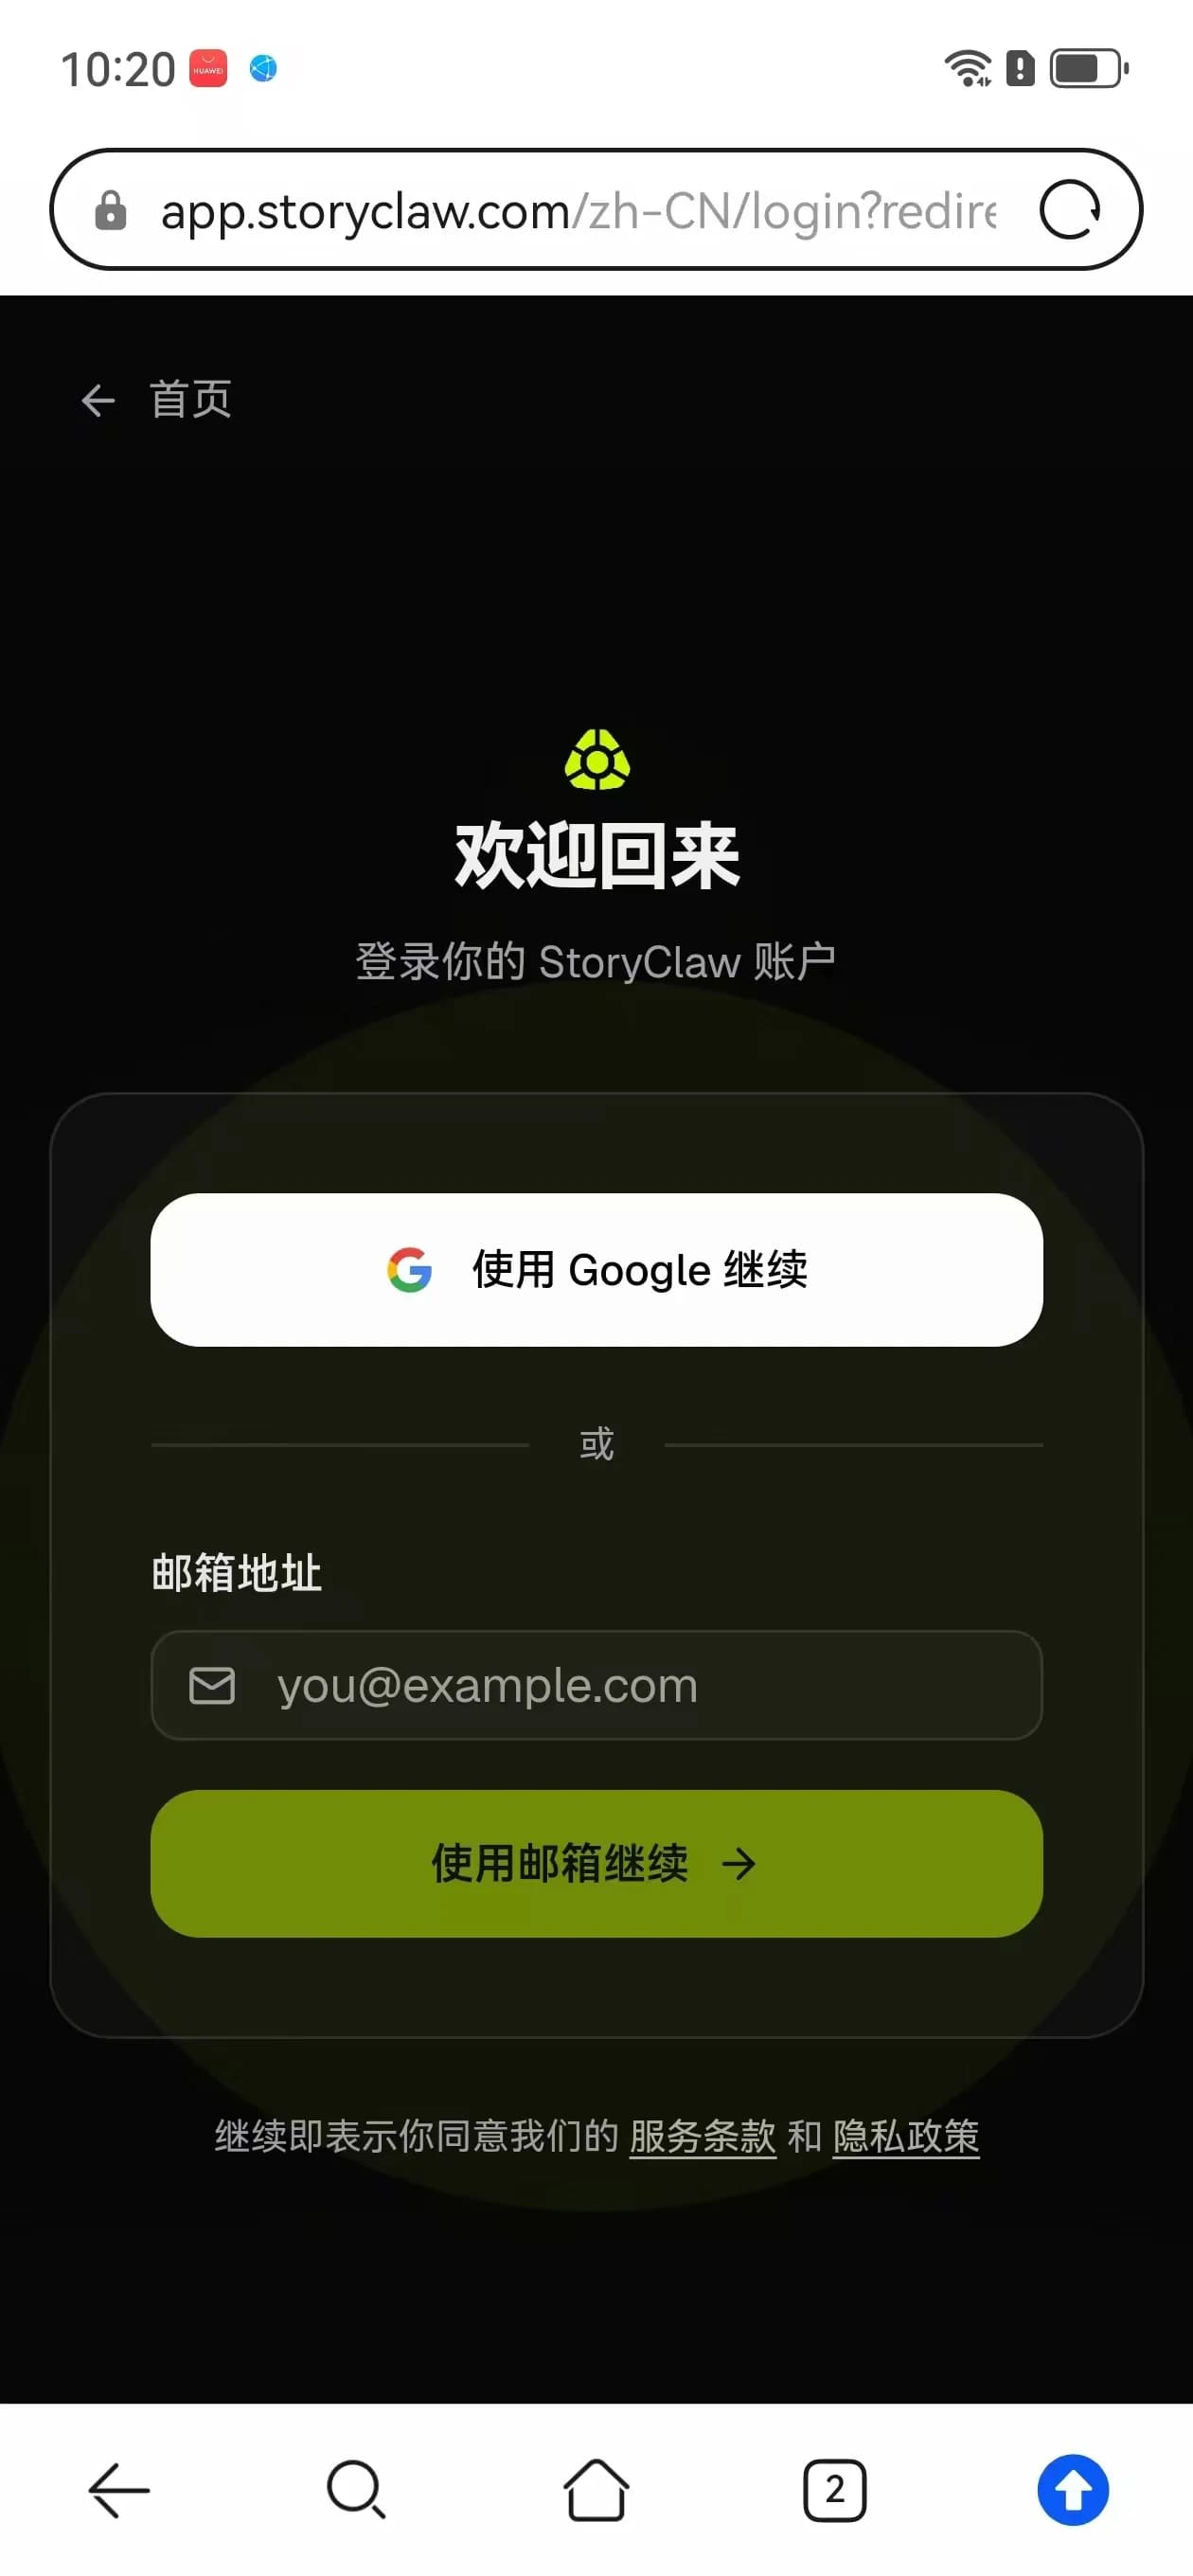
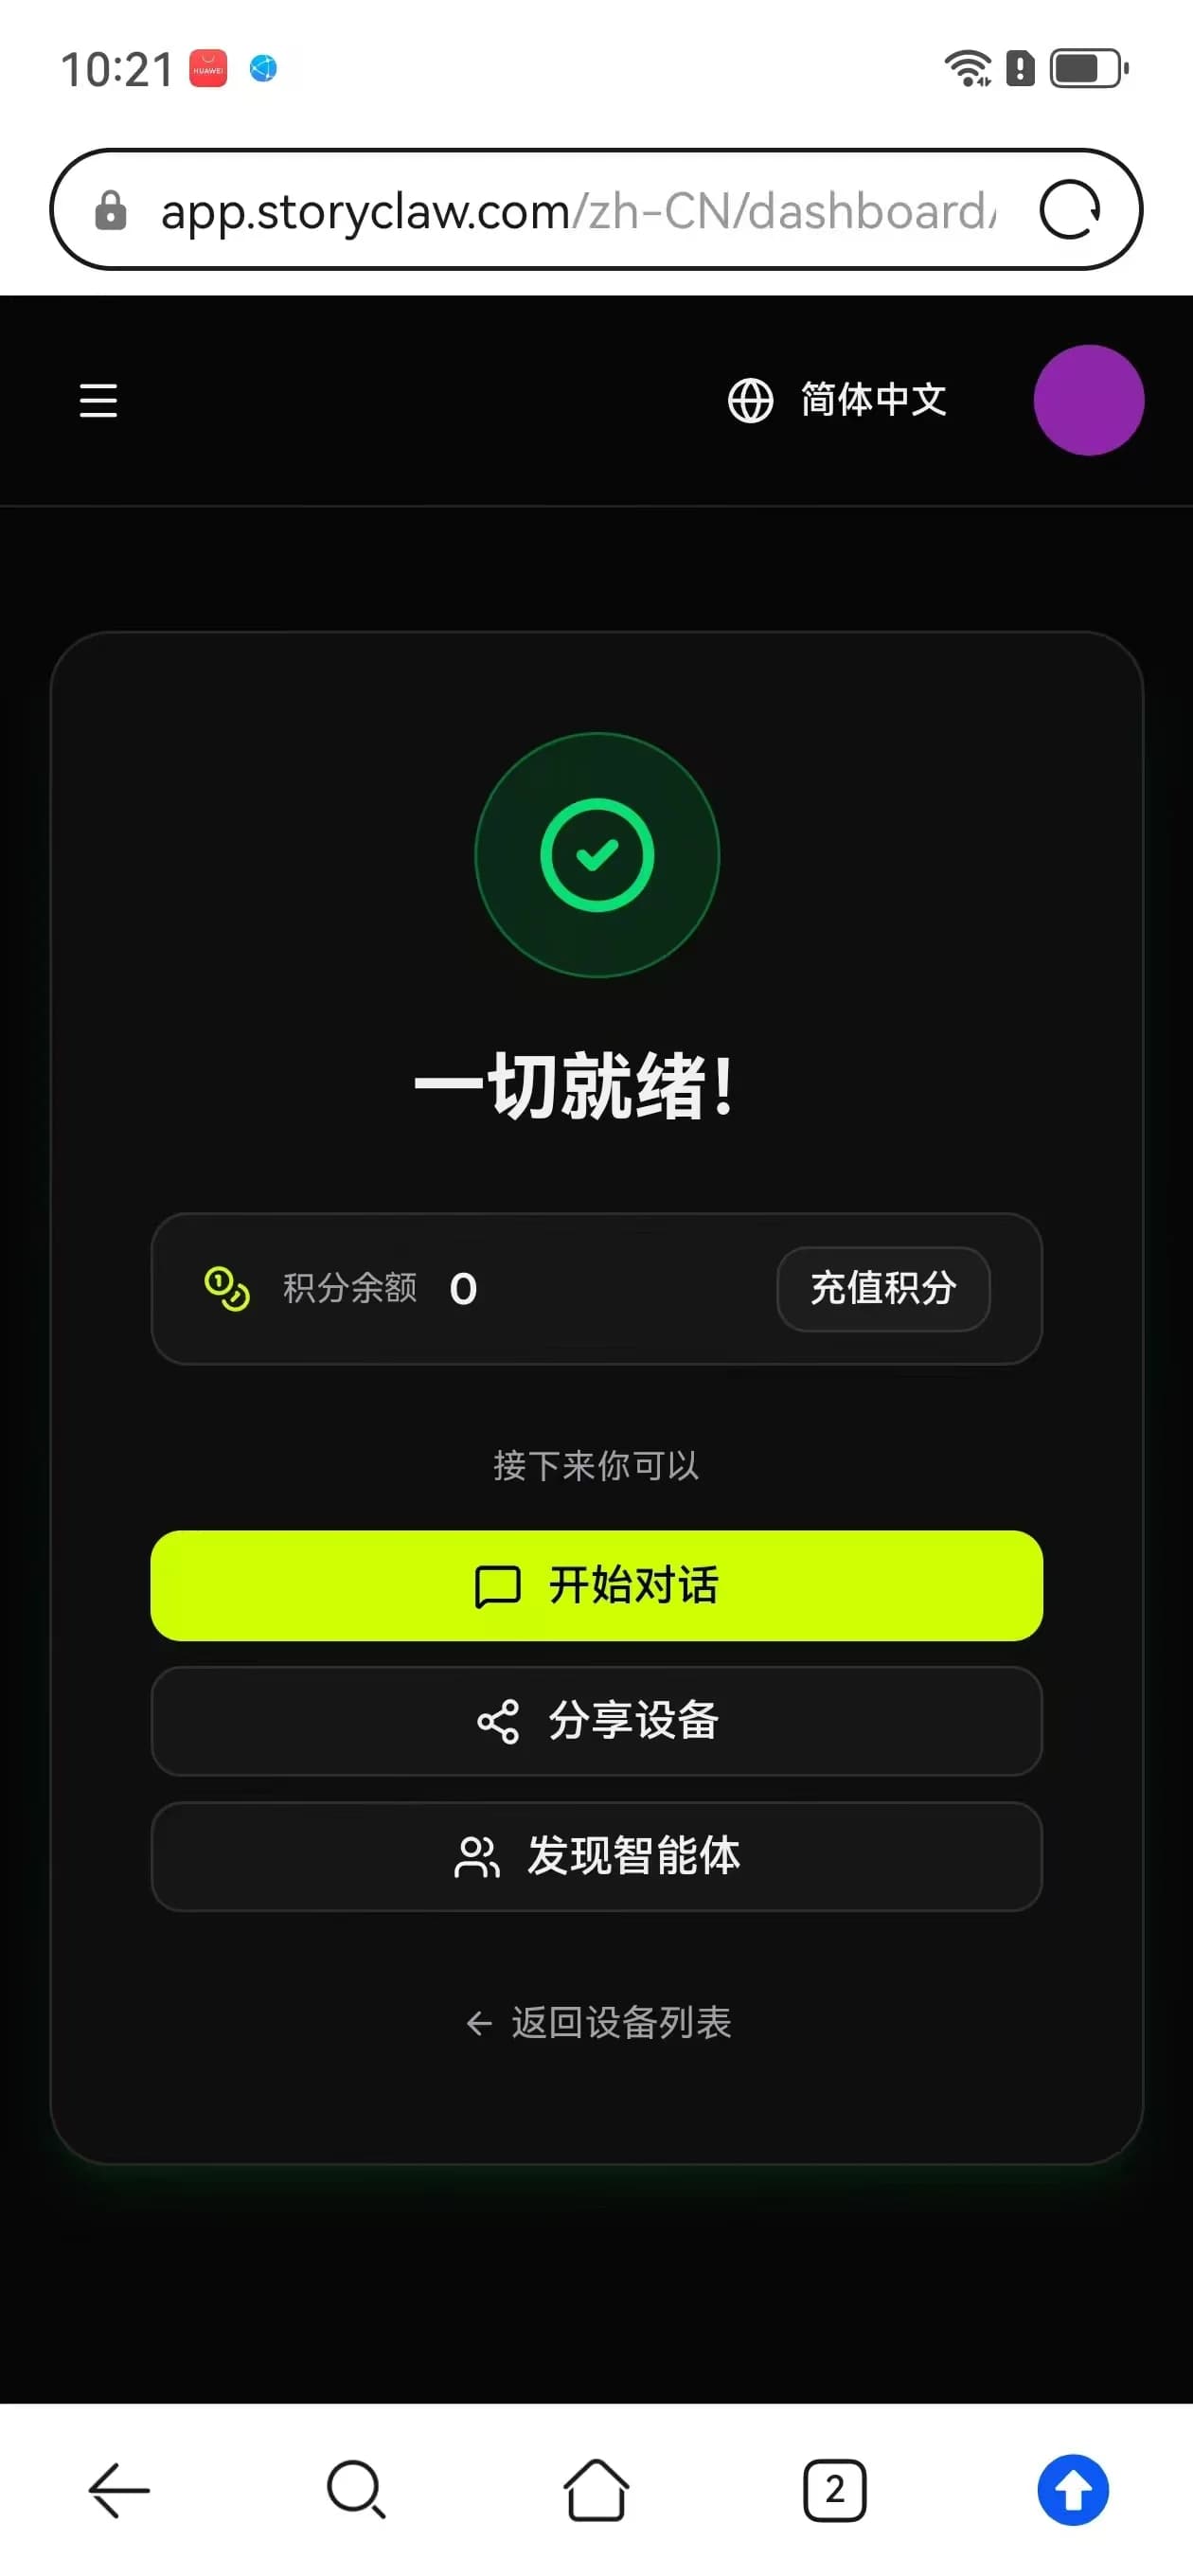
Wait 30–90 seconds → tap "Bind Device" → sign in → done! 🎁 Bonus credits on first bind.
Tip
After binding, the device auto-connects on every boot. Only redo this when changing WiFi networks.
Troubleshooting
Q: Cannot find the StoryClaw_XXXXXX hotspot?
- Wait about 1 minute after power on before scanning — the hotspot doesn't appear instantly
- Toggle WiFi off and on to force a refresh
- The hotspot is 2.4GHz — ensure your phone supports it
- The hotspot is only active for 15 minutes — if more than 15 minutes have passed since boot, power cycle the device and try again
Q: Cannot open 10.42.0.1 after connecting to the hotspot?
- Turn off mobile data, confirm WiFi is still on StoryClaw_XXXXXX, then retry
- When the hotspot warning appears, tap "Keep Using" — do not switch away
- Type http://10.42.0.1 directly in the address bar — do not use a search engine
Q: "Connection timeout" message but WiFi is actually connected?
- The page will show a "✅ Connected, continue binding →" button — tap it to skip and proceed with binding.
Q: Page reloads back to the input field after tapping "Connect"?
- Your phone automatically switches back to a connected WiFi — this is normal. Reconnect to StoryClaw_XXXXXX and refresh the page to try again.
- If the page jumps directly to step 4, the device is already online — continue normally.
Q: Moved or changed WiFi — how to reconfigure?
- Hotspot reconfiguration: Boot and wait 1 minute. If saved WiFi isn't found, device auto-broadcasts the hotspot (StoryClaw_XXXXXX). Connect your phone to the hotspot, open
http://10.42.0.1, and enter the new WiFi password. - Wired connection (recommended): Connect device to router via Ethernet — auto-connects on boot. Neither method requires re-binding your account.