
Unboxing & Hardware
Unbox the CLAW ONE, review its specs and ports, and complete the hardware connection.
Packaging & Device Appearance
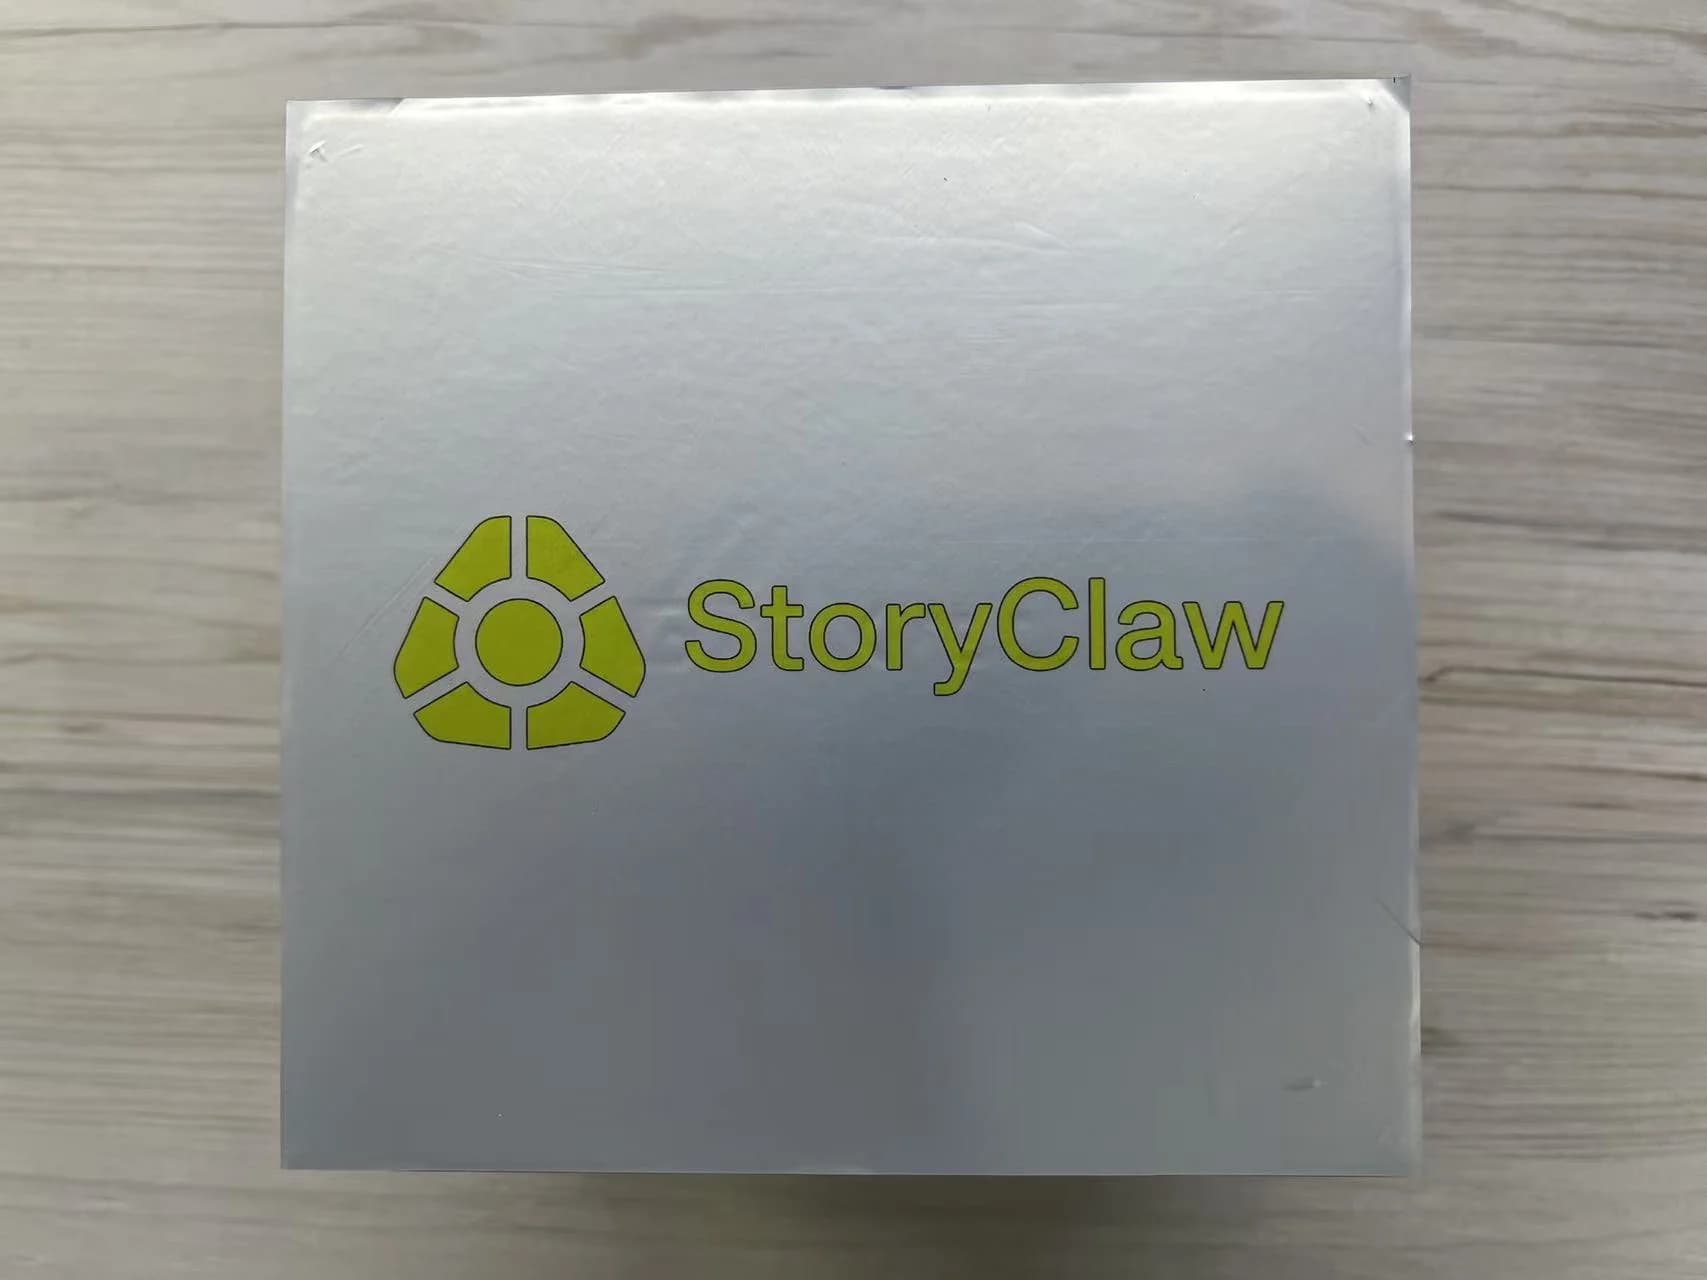
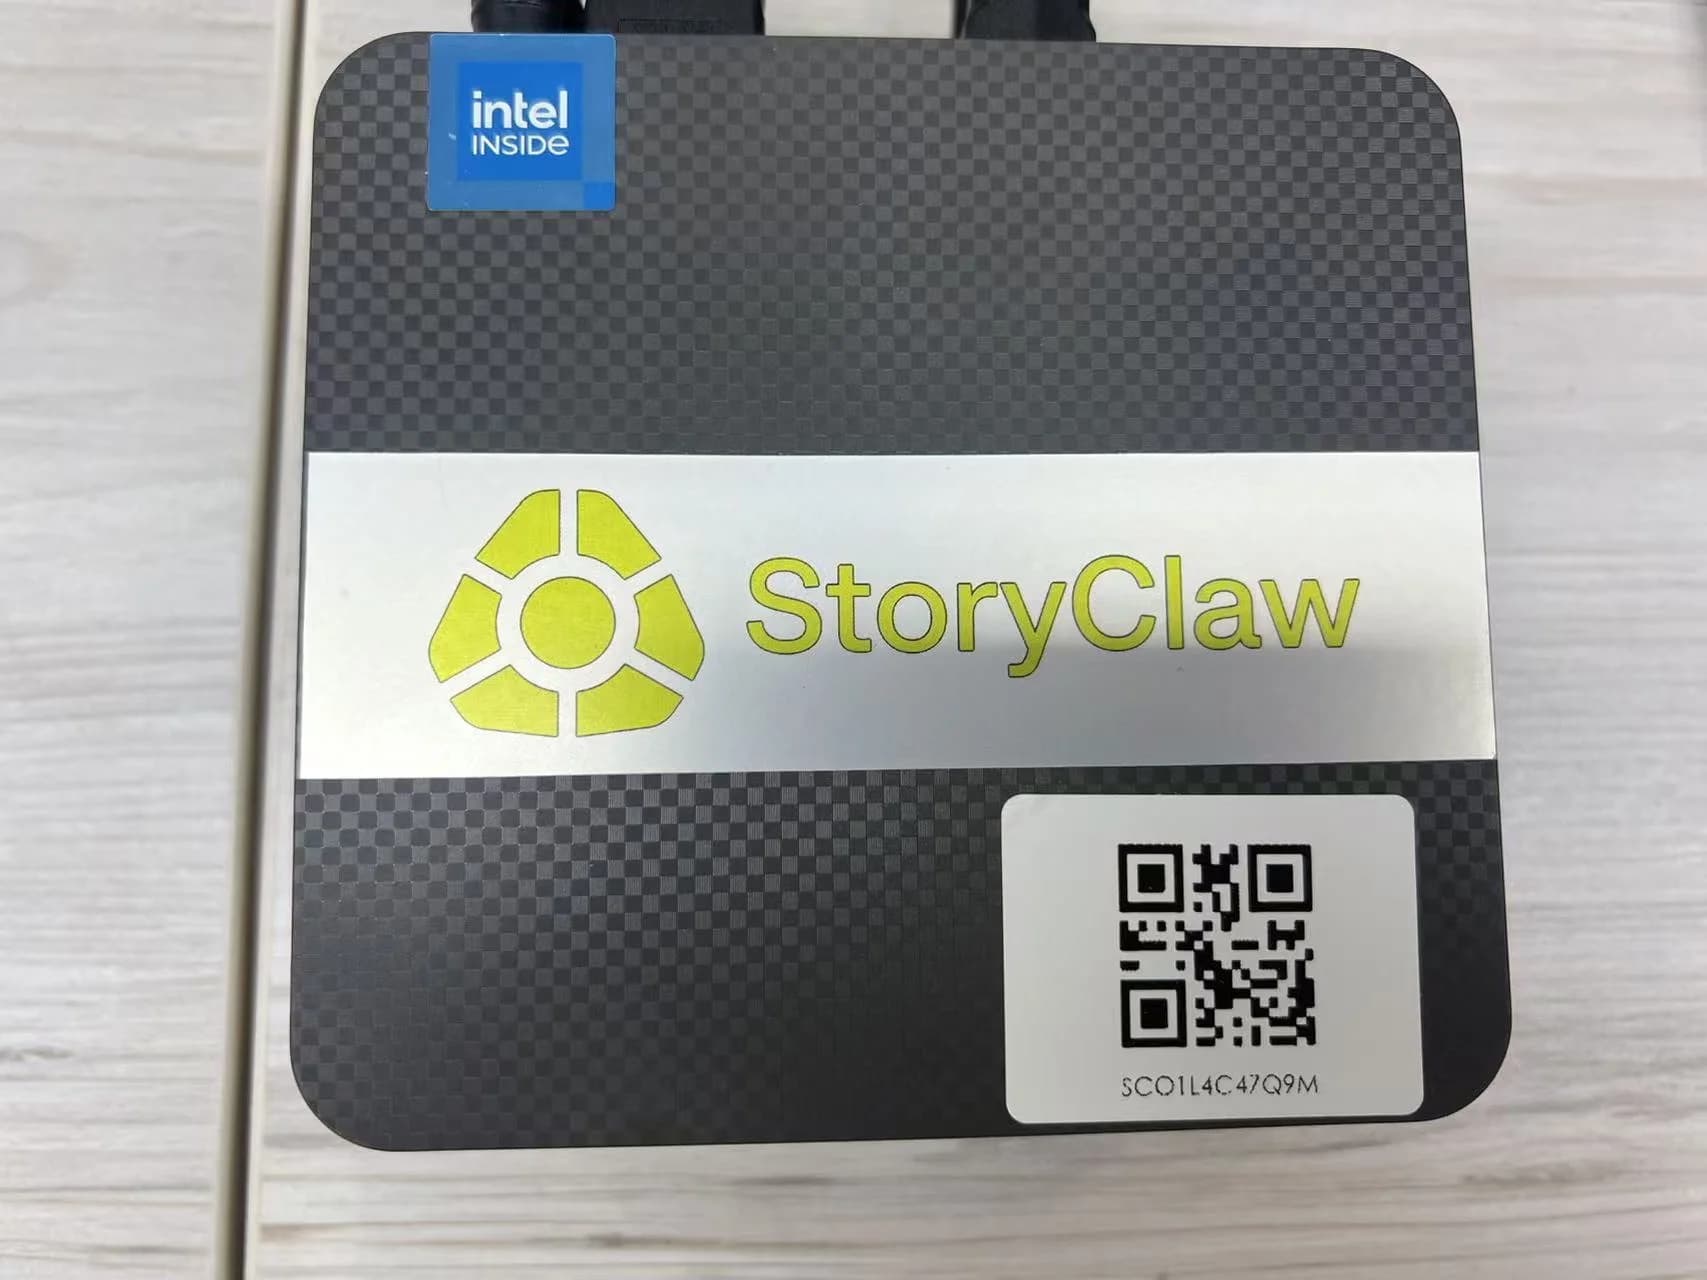
CLAW ONE ships in a clean silver-grey box. The device features a matte carbon-fiber textured panel with the StoryClaw logo and serial number label on the front face.
Tech Specs
| Specification | Details |
|---|---|
| Model | CLAW ONE |
| Operating System | Ubuntu 22.04 LTS |
| Pre-installed Software | ClawOS Smart Runtime |
| CPU | Intel N95 · Quad-Core · Up to 3.4GHz · 6MB Cache |
| Memory (RAM) | 8GB DDR4 |
| Connectivity | 2.5G RJ45 · Dual-Band Wi-Fi 5 · Bluetooth 5.0 |
| Storage | 128GB M.2 SSD |
| Storage Slots | 2 × M.2 SSD (PCIe Gen3×2 / SATA) |
| Video Output | 2 × HDMI · Dual Display 4K@60Hz |
About the Device
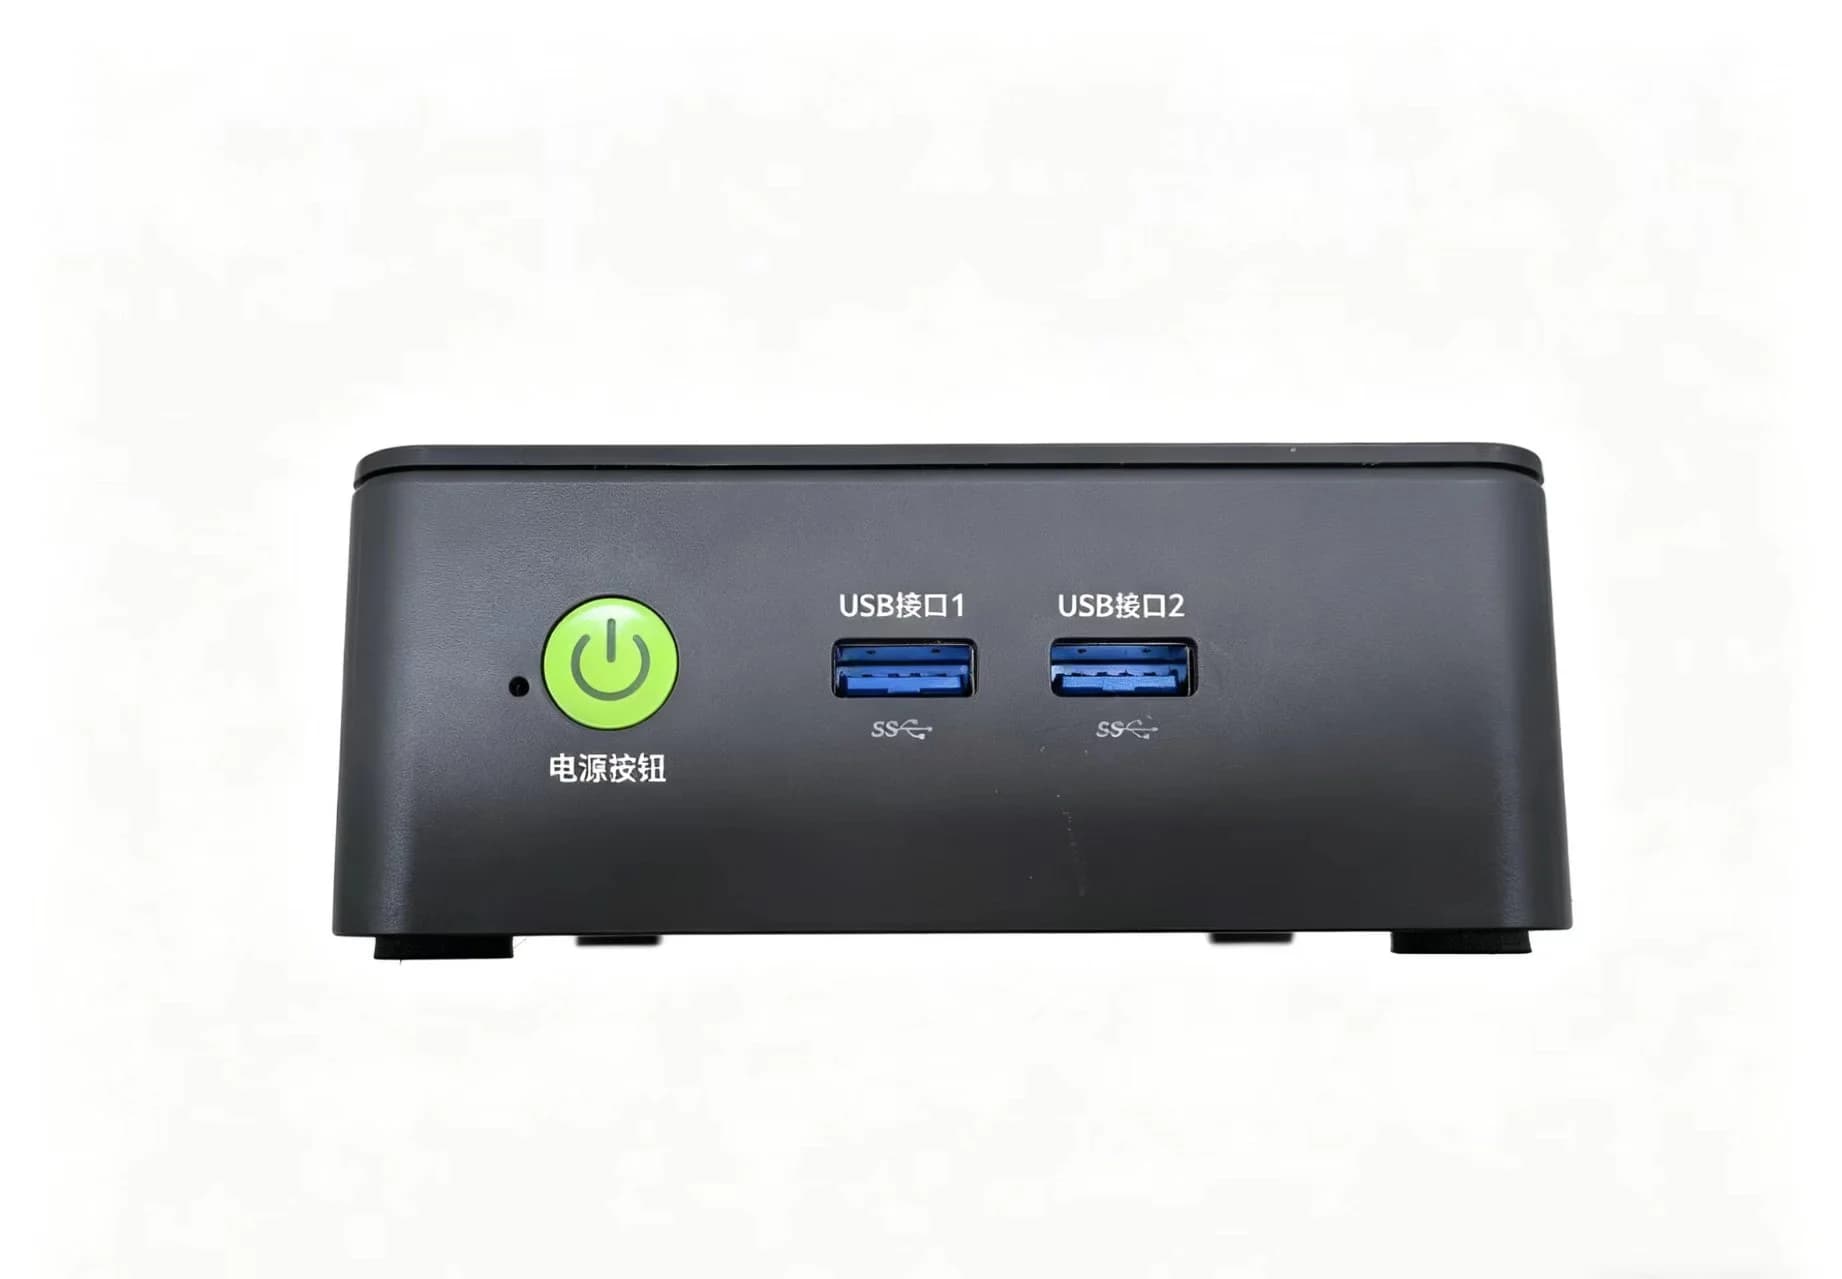
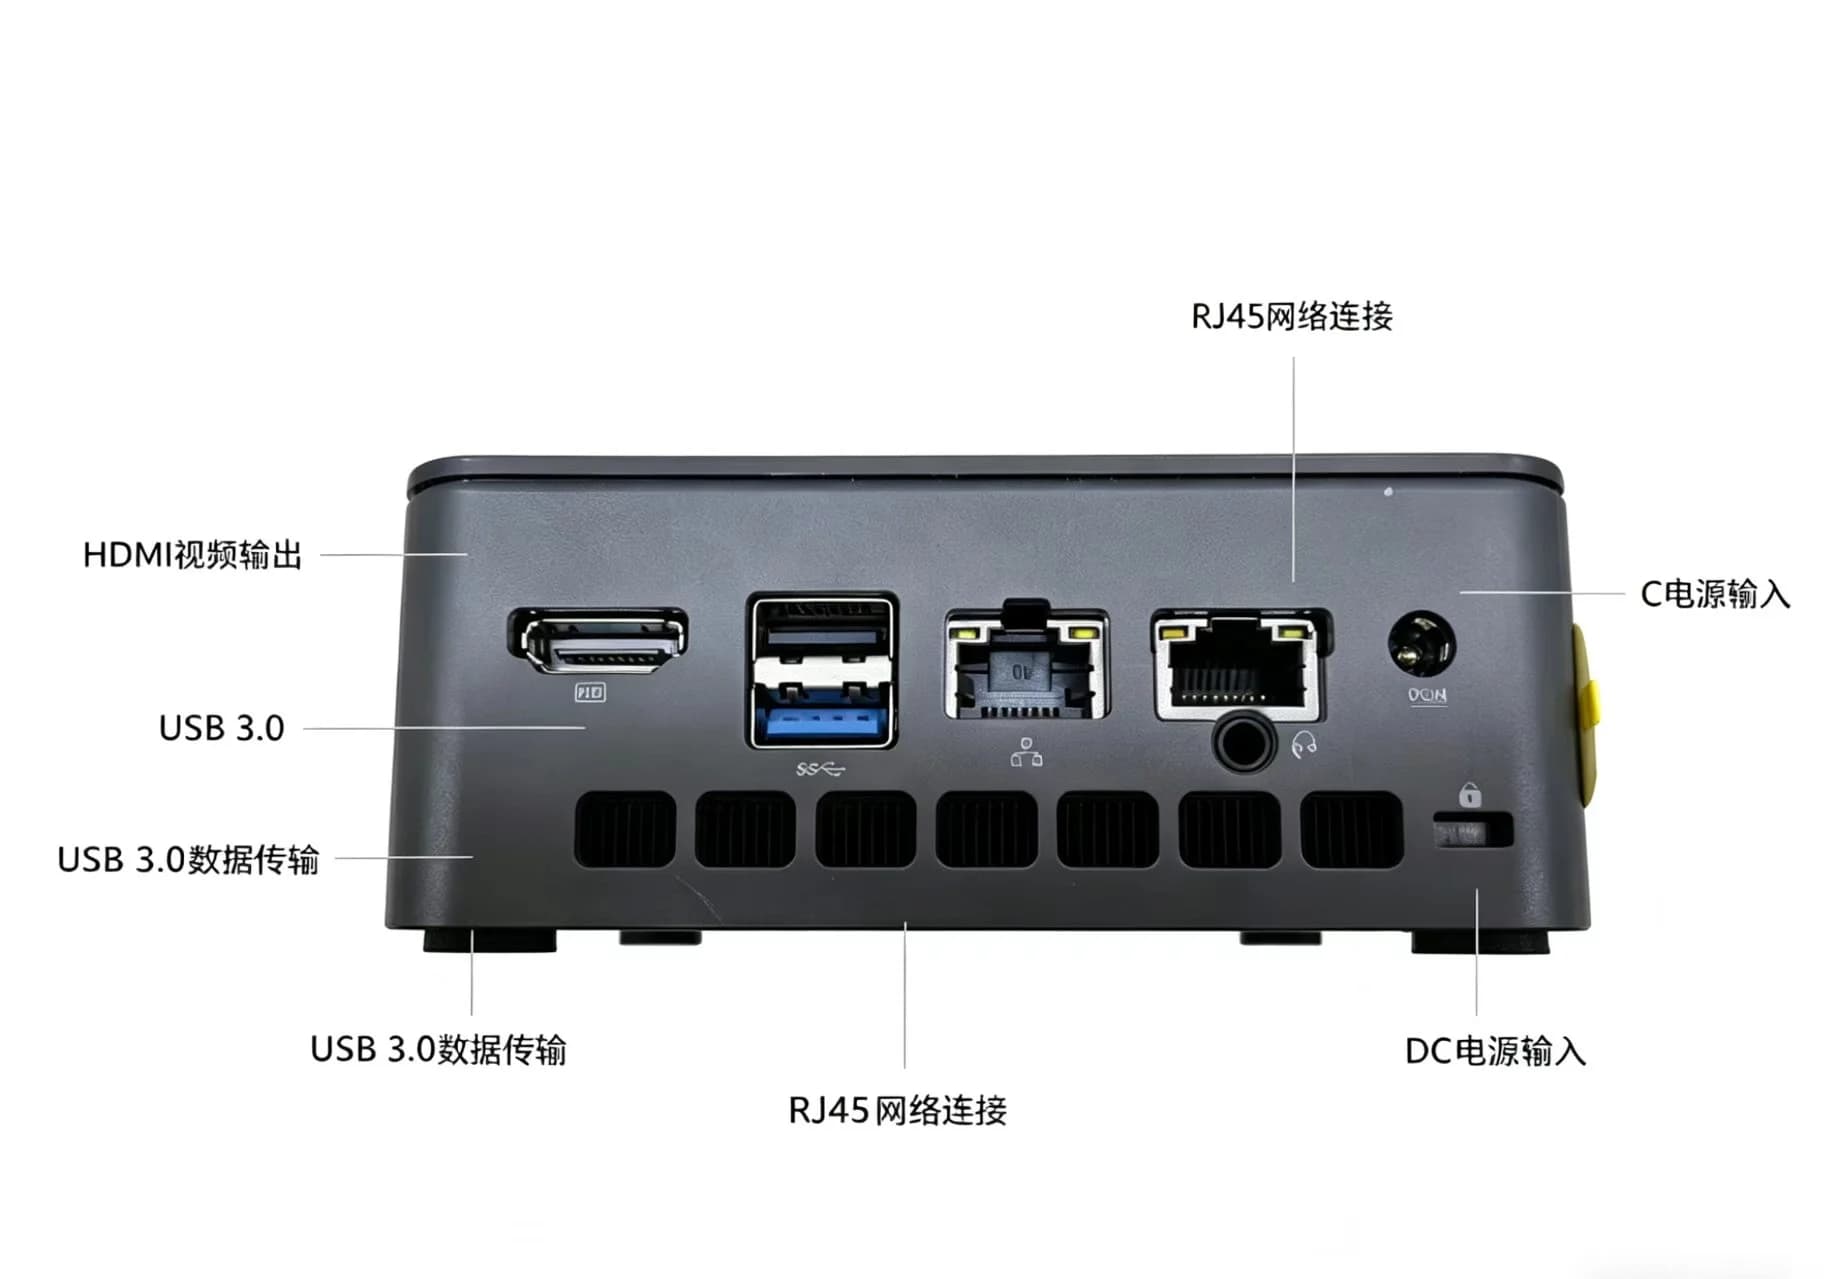
The CLAW ONE front panel provides everyday USB ports and the power button; the rear panel consolidates video output, networking, and power connections.
Front Panel
- Power Button — —
- USB-A × 2 — USB 3.2 Gen2
Rear Panel
- Audio Jack — 3.5mm
- USB-A × 1 — USB 2.0
- USB-A × 1 — USB 3.2 Gen2
- HDMI × 2 — 4K@60Hz
- Ethernet — RJ45 · 2.5G
- DC Power — 12V 3A
- Security Slot — Kensington
Connection Steps
Follow the steps below to complete hardware setup. First boot takes about 1–2 minutes — do not cut power during this process.
-
Connect the power adapter
Plug the included power adapter (12V 3A) into the DC power port on the rear panel. Always use the original adapter — third-party adapters may prevent the device from booting correctly.
-
Connect a display (optional)
Connect one end of the HDMI cable to the device's rear HDMI port and the other end to your display. The device supports dual-screen output (2 × HDMI 4K@60Hz). A display is not required if you are using the hotspot setup method.
-
Connect keyboard and mouse (optional)
Plug USB keyboard and mouse into any available USB-A port on the front or rear panel. These are not required if you complete setup via mobile.
-
Press the power button and wait for boot
Press the front panel power button to start the device. First boot to desktop takes about 1–2 minutes — keep power connected throughout. A steady power indicator light means the system is running normally.
Tip
If you have a router nearby, connect the device via Ethernet cable now — you can skip the WiFi setup entirely. The device will auto-connect and go straight to binding. -
Confirm device hotspot is broadcasting
About 1 minute after boot, if no saved WiFi is detected, the device automatically broadcasts a hotspot named
StoryClaw_XXXXXX. Proceed to the next activation step. If you connected via Ethernet, skip this step.