
Bluetooth App Setup
Push WiFi credentials to newer-batch StoryClaw devices via the App's Bluetooth feature to complete network setup in 1–2 minutes.
For newer-batch devices, push WiFi credentials via the StoryClaw App's Bluetooth feature. Setup takes about 1–2 minutes.
WiFi Requirements
- Recommended: Home broadband, office direct WiFi (password only)
- Note: For hotel, airport, or mall networks requiring a browser login page, connect a monitor, mouse, and keyboard to the device first to complete authentication
Think twice before changing your bound email
- First-bind bonus: The first bound email receives 2,000 bonus credits (Token). Unbinding and switching to a new email forfeits this bonus
- Credits are non-transferable: Credits already topped up to the original email cannot be moved to a new one
- Sharing: To let others use the device, add shared emails in device settings (up to 5) — no need to unbind your account
No need to carry the device with you
Place StoryClaw in a stable home WiFi environment once, then access and use it from anywhere via the App or console. No need to travel with the device.
Before you start
StoryClaw App is installed, phone Bluetooth is on, and the device is powered on and running.
Flow: Download App → Open App → Add via Bluetooth → Scan & discover → Enter WiFi info → Setup complete
Steps
1. Download & Install StoryClaw App
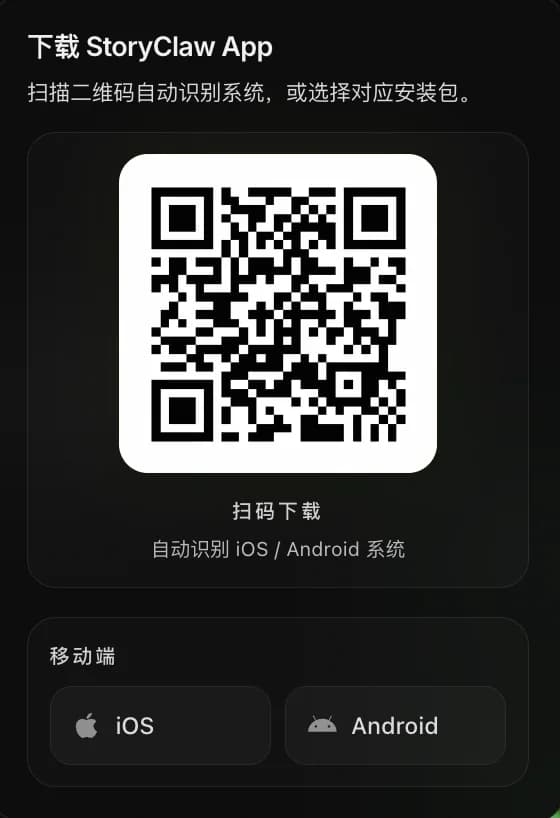
Visit storyclaw.com, tap "Product Download" at the top, then scan the QR code (auto-detects iOS / Android) or tap the iOS / Android button to download directly.
Android
- Scan the QR code or tap "Android" to download the APK installer
- Tap the downloaded file and allow "Install unknown apps" when prompted to complete installation
HarmonyOS (5.0+)
- Download the same APK file, but HarmonyOS 5.0+ cannot install APKs directly
- First install "Zhuo Yi Tong" from Huawei AppGallery (an Android compatibility tool)
- Once installed, open the downloaded APK file with Zhuo Yi Tong to complete installation
- HarmonyOS 4.2 and below: disable Pure Mode (Settings → System & Updates → Pure Mode → Off), then install the APK directly
iPhone (iOS)
StoryClaw App is not yet on the App Store — install the Beta via TestFlight in three steps:
- Step 1: Search for and install TestFlight from the App Store (Apple's official beta platform, free)

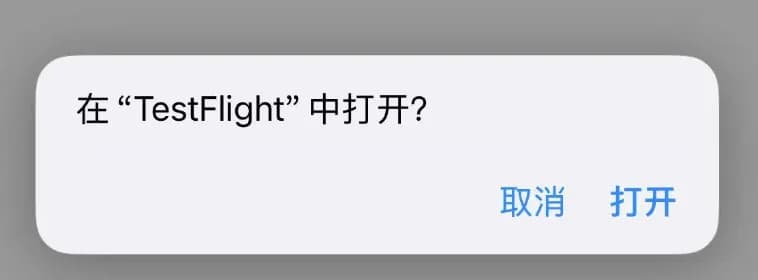
- Step 2: After installing TestFlight, scan the QR code on the download page with WeChat or Camera — tap "Open" when prompted to open in TestFlight

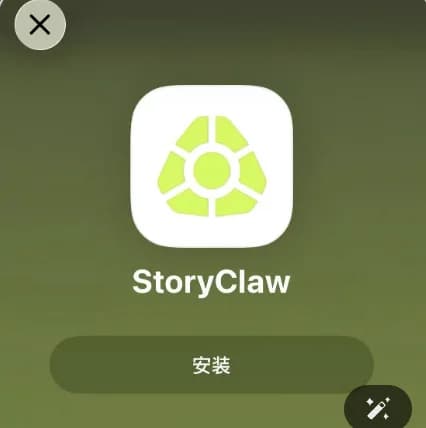
- Step 3: In TestFlight, tap "Install" to complete StoryClaw Beta installation
2. Open StoryClaw App
Launch the StoryClaw App. First-time users need to sign in: enter your email, tap "Continue with Email", enter the verification code you receive, then tap "Verify and Login" (signing in automatically creates an account).


3. Tap "Add Device via Bluetooth"
If the chat page shows "gateway not connected", tap the "+ Add Device via Bluetooth" button to enter the Bluetooth setup page.

4. Scan for nearby devices
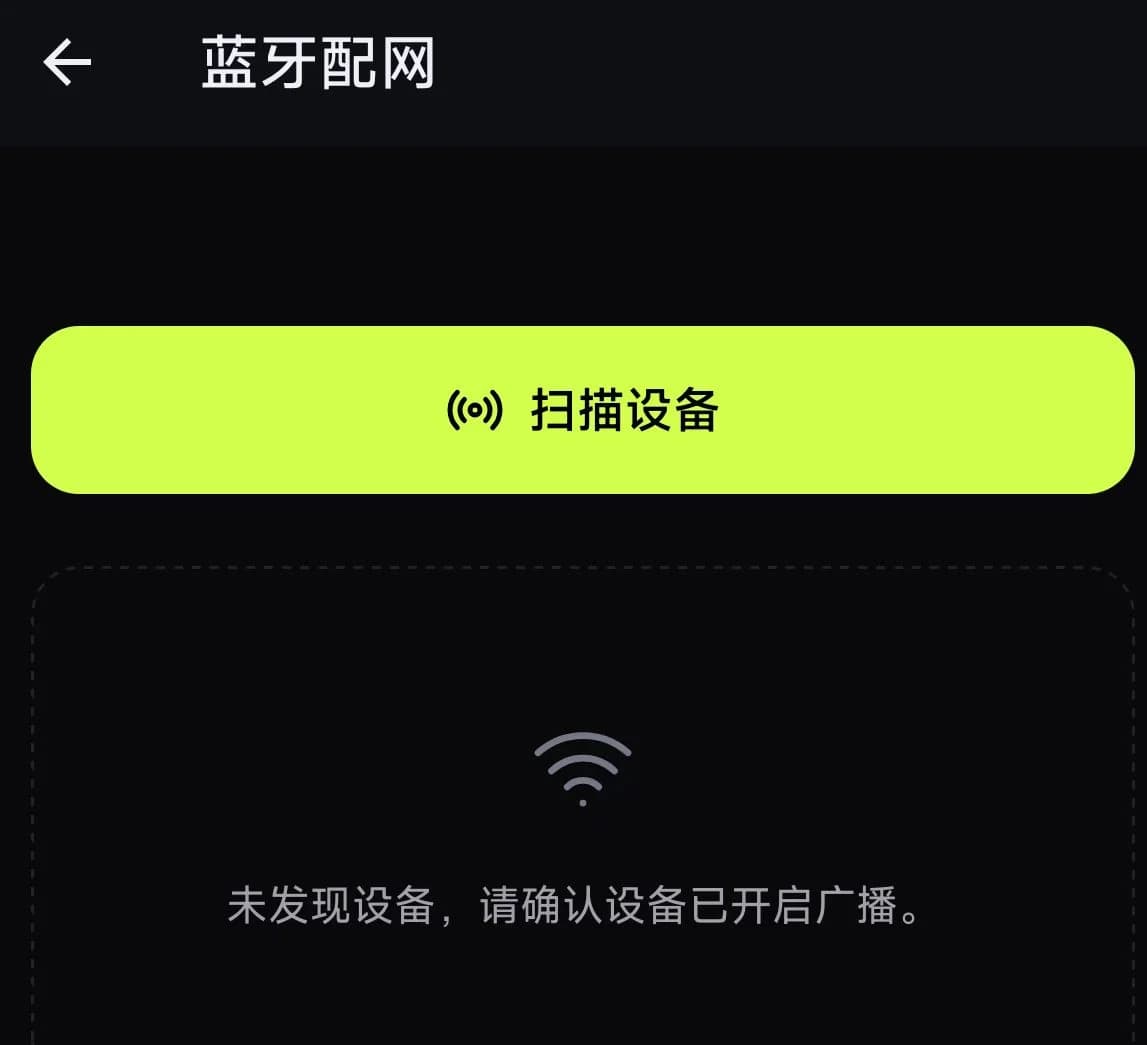
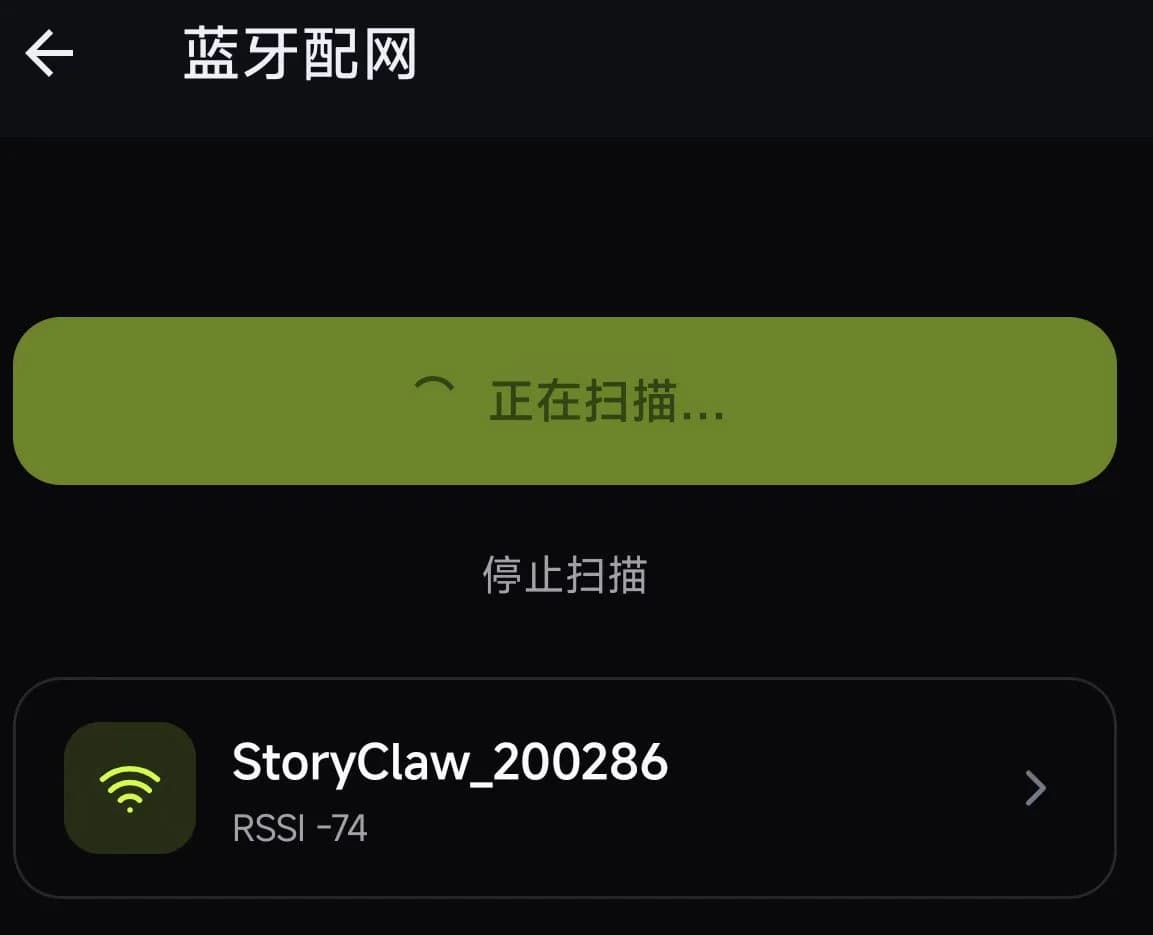
Tap "Scan for Devices". The App searches for nearby StoryClaw devices via Bluetooth. Discovery usually takes 10–20 seconds.
Tip
5. Select device and enter WiFi credentials
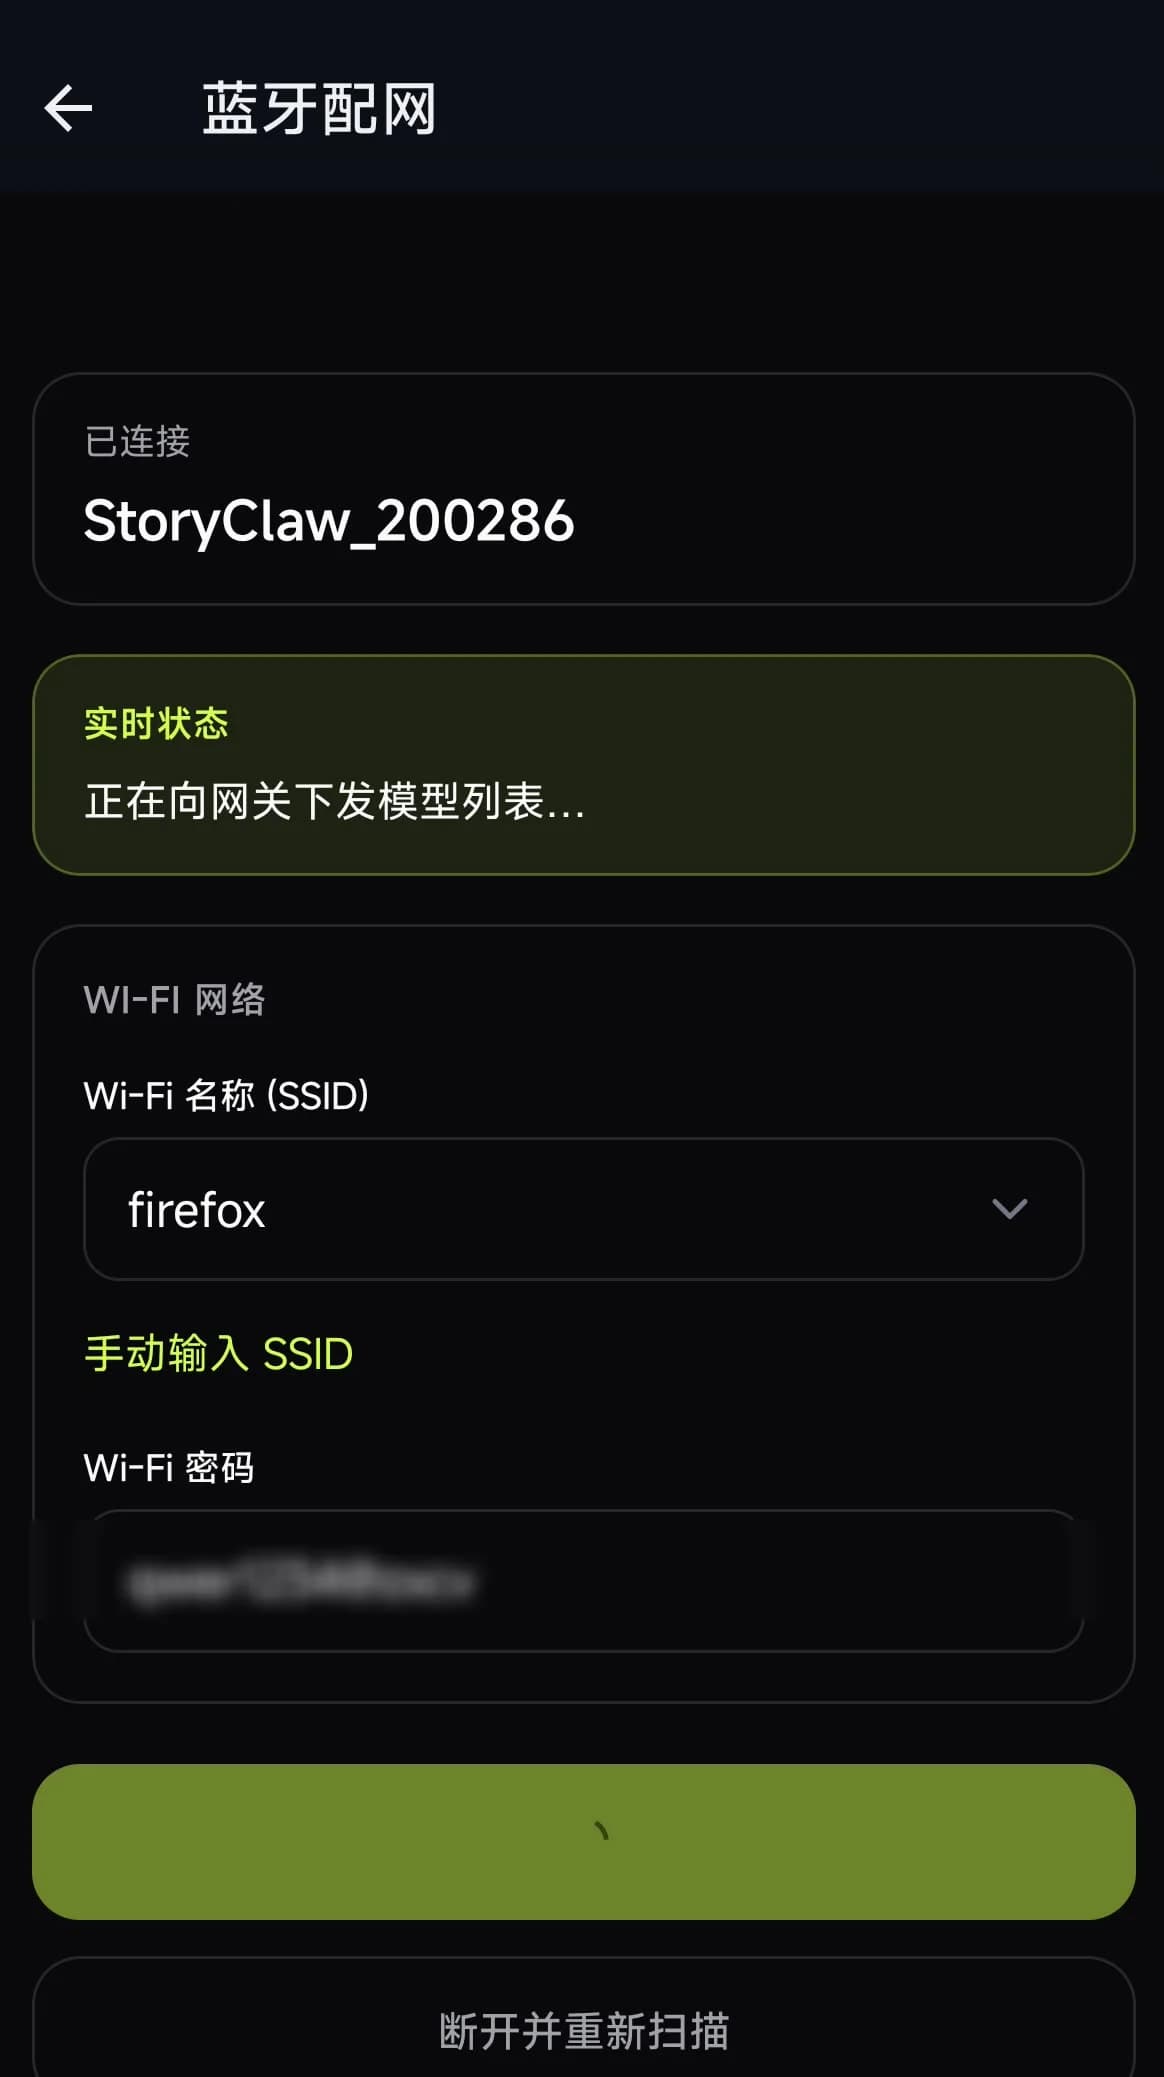
Tap the target device (name format: StoryClaw_XXXXXX). The App connects via Bluetooth automatically. Once connected, fill in:
- WiFi Name (SSID): select from the dropdown or tap "Enter SSID manually"
- WiFi Password: enter the password for the selected WiFi
iPhone (iOS) note
After filling in the details, tap the submit button at the bottom and wait for the result.
6. Setup complete — device bound
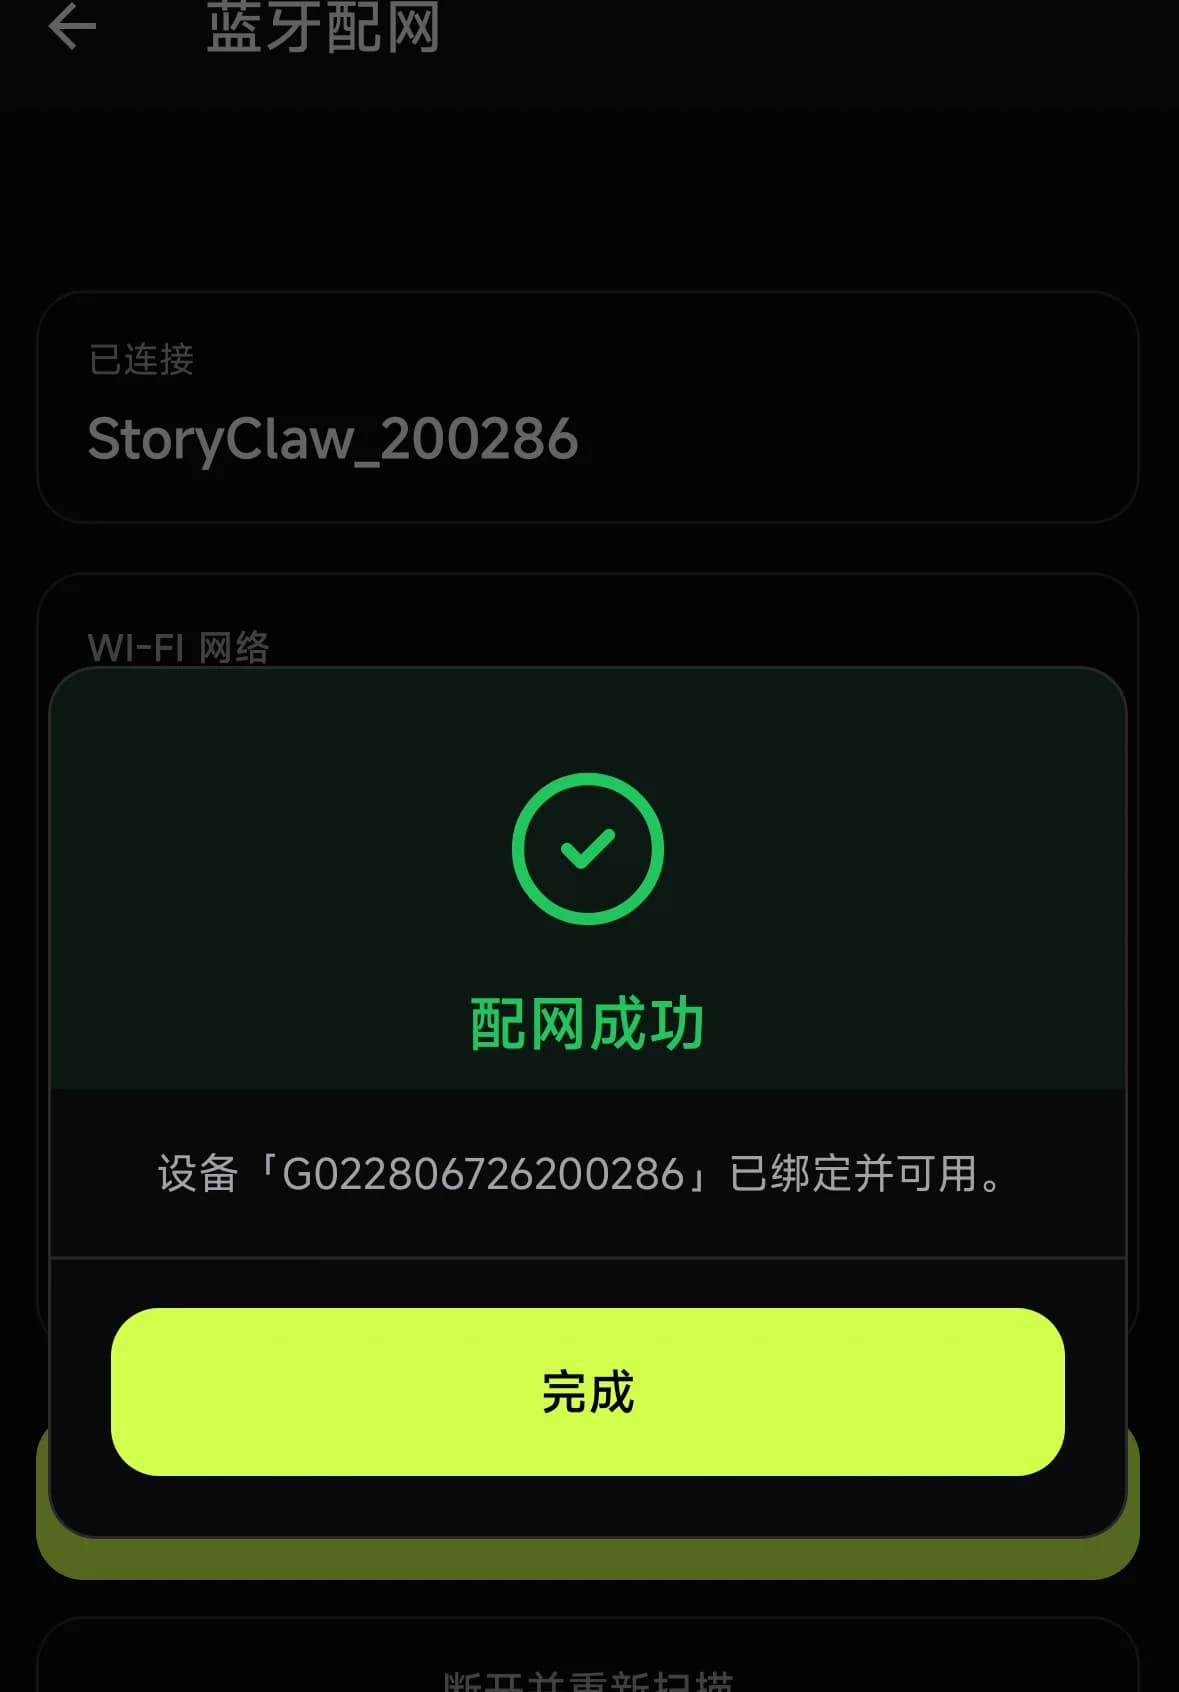
When the "Setup Complete" dialog appears, the device has connected to WiFi and completed account binding. Tap "Done" to return to the chat page and start using the device.
Tip
Troubleshooting
Q: Scan keeps showing "No devices found"?
- Confirm Bluetooth is on and the App has Bluetooth permission (System Settings → App Permissions)
- Move closer to the device — stay within 5 meters
- Confirm the device is powered on and indicator lights are on
- Tap "Stop Scan", then tap "Scan for Devices" again
Q: Setup failed or no response for a long time?
- Check that the WiFi name and password are correct (case-sensitive)
- Ensure the target WiFi is 2.4GHz — some devices don't support 5GHz
- Tap "Disconnect and Rescan", reselect the device and try again
Q: Only one WiFi option in the dropdown on iPhone?
- iOS restricts WiFi scanning — the dropdown only shows the WiFi your phone is currently connected to
- Recommended: Before setup, connect your phone to the target WiFi (the one the device will use) — the dropdown will auto-fill with that WiFi name
- If you can't switch first, tap "Enter SSID manually" to type the WiFi name and password directly
Q: No "Add Device via Bluetooth" button?
- This button only appears when the app detects the device is offline — it's hidden when the device is online
- If the device is offline but the button isn't showing, close and reopen the App